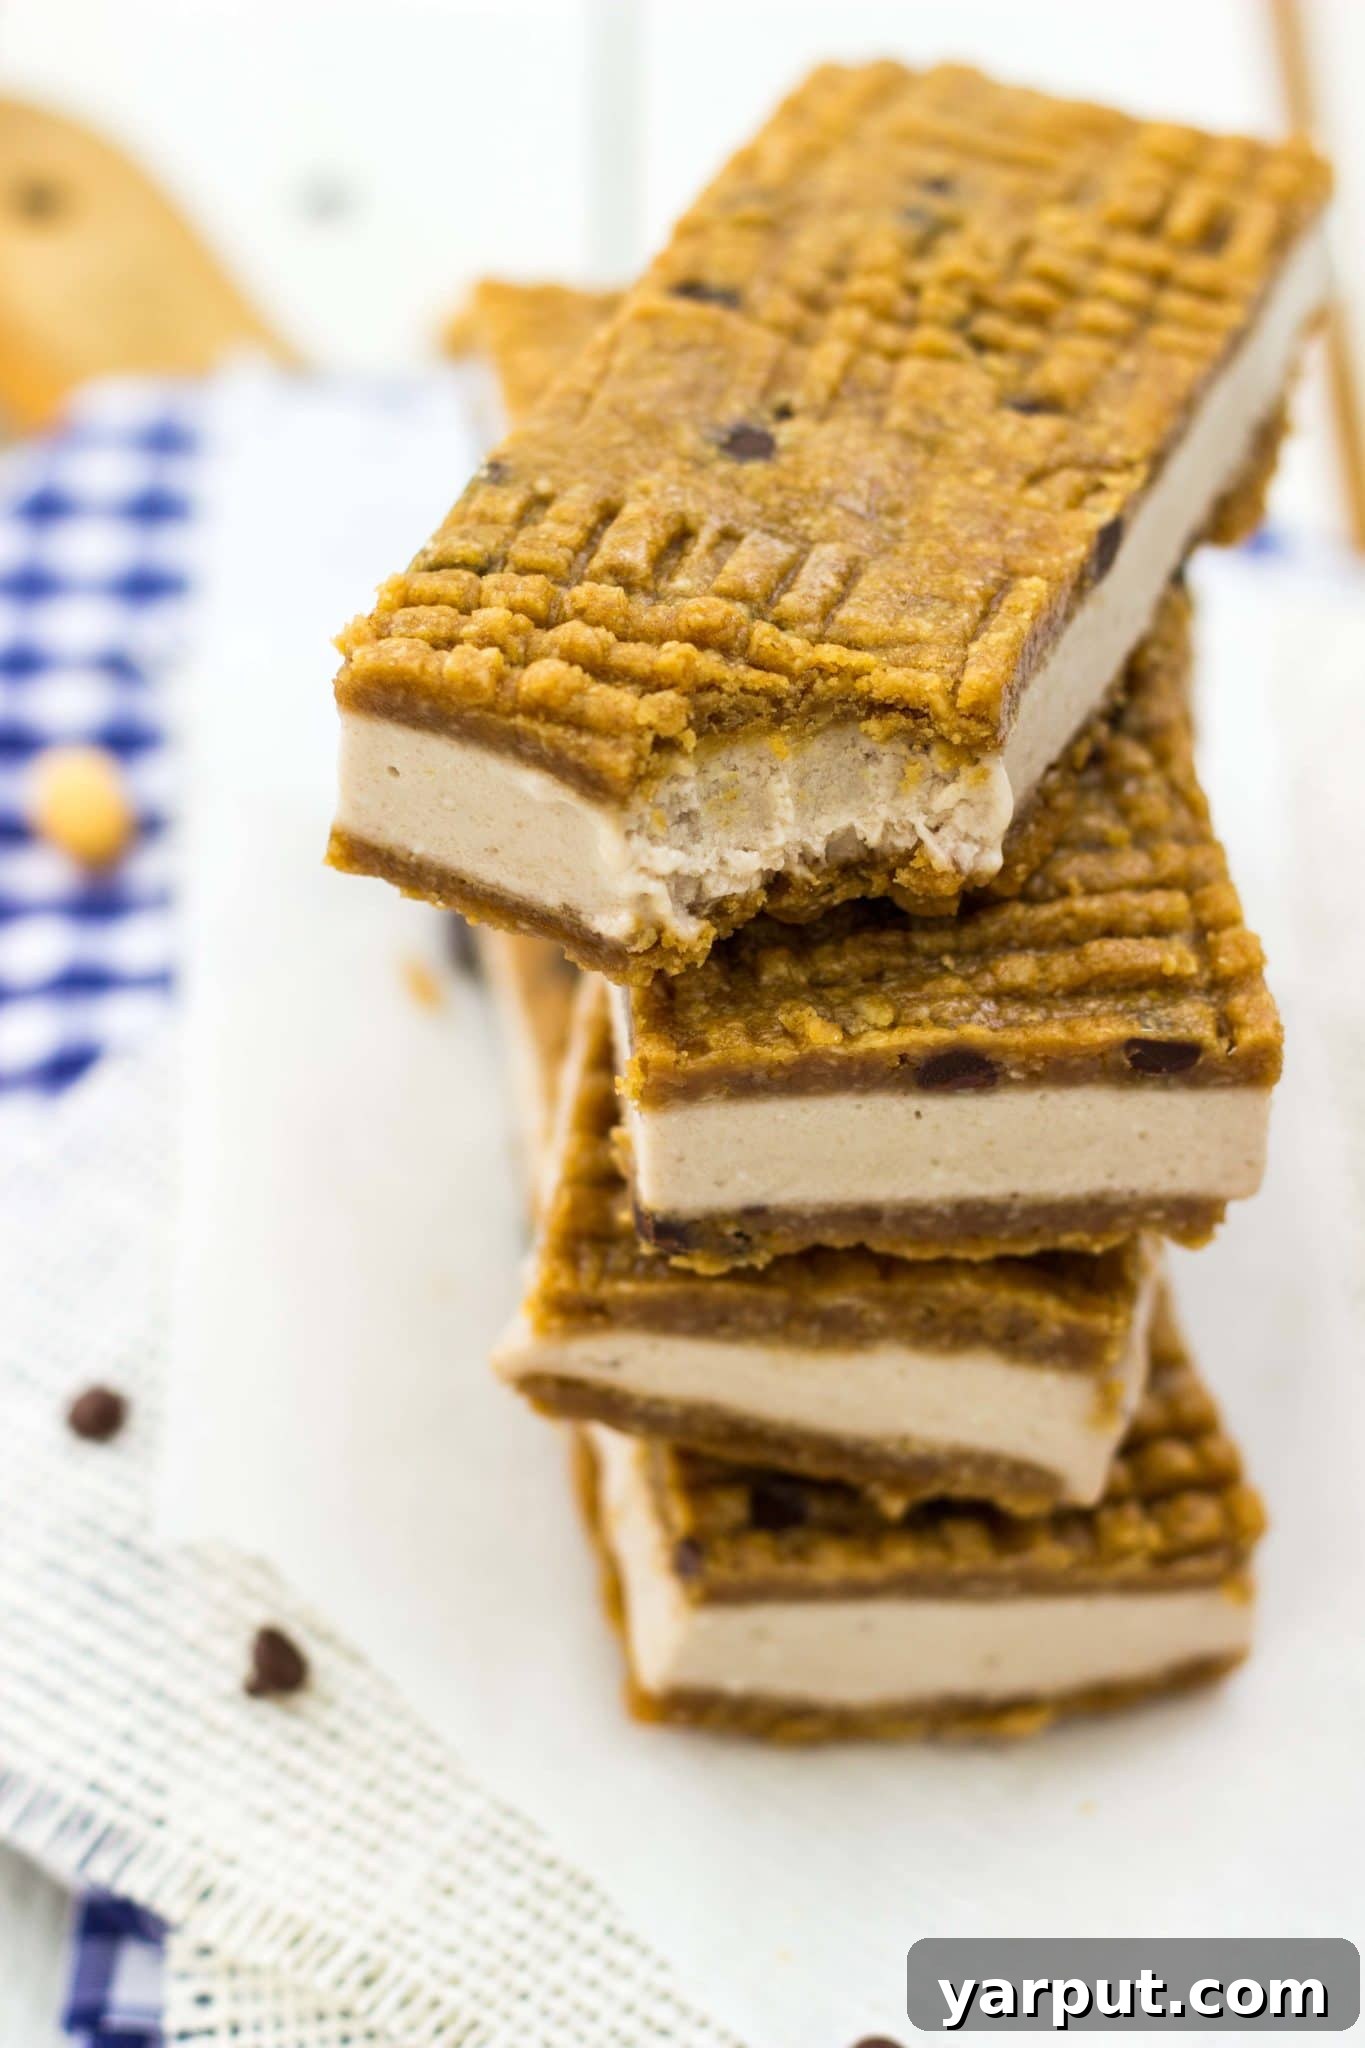
Indulge in Guilt-Free Bliss: Vegan & Gluten-Free Peanut Butter Banana Ice Cream Sandwiches
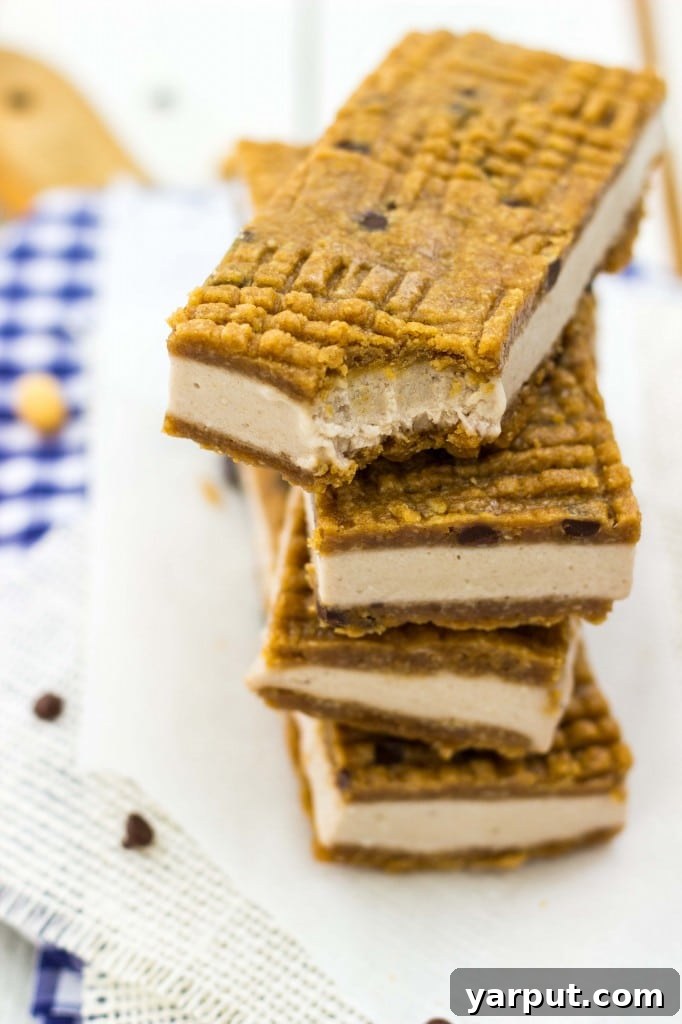
There’s an undeniable joy that comes with a perfectly crafted ice cream sandwich – that delightful blend of creamy, cool filling encased between two soft, chewy cookies. However, traditional versions often come with dairy, gluten, and a hefty dose of sugar that can make them less accessible for many. This quest for a healthier, equally delicious alternative led me down a delightful path of culinary experimentation, culminating in these incredibly satisfying Peanut Butter & Banana Ice Cream Sandwiches.
My husband, with the best intentions, gifted me an ice cream maker a few birthdays ago. Ironically, this thoughtful present sparked my journey into the world of *no-churn* ice cream, proving that sometimes, the best discoveries are made by circumventing the usual methods. This recipe, a testament to that spirit, requires no specialized equipment, making it incredibly easy for everyone to enjoy. Whether you’re navigating dietary restrictions or simply seeking a wholesome, refreshing treat, prepare to be amazed by this dairy-free, gluten-free, and vegan delight!
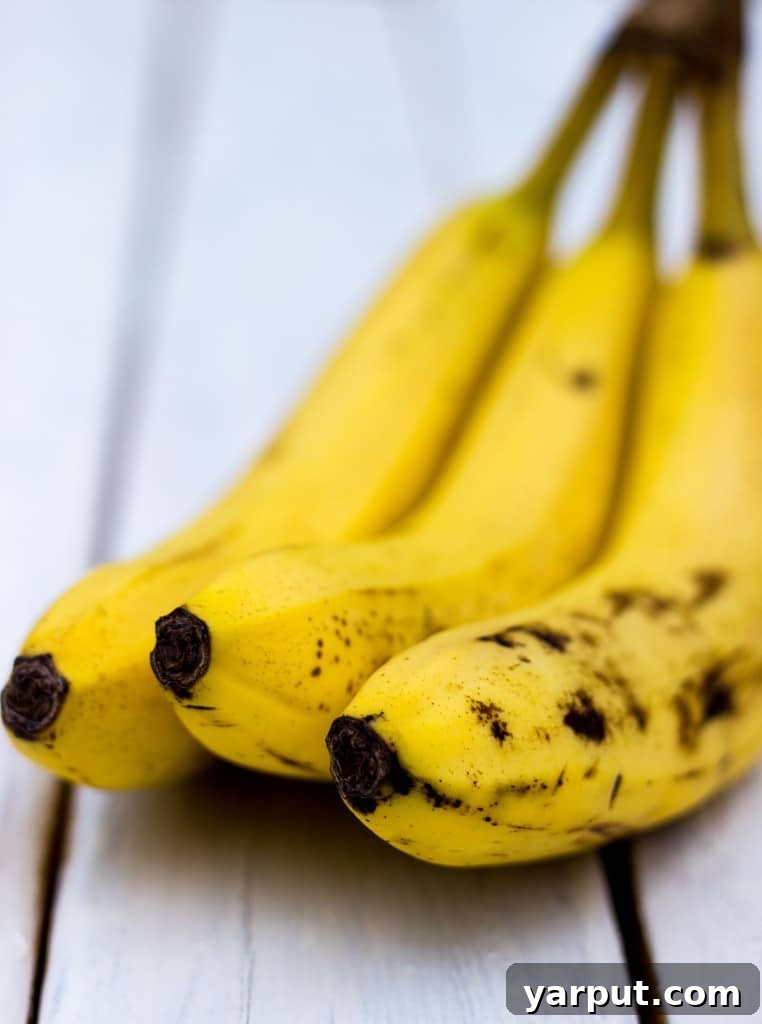
The Genius of Banana “Nice” Cream: A Dairy-Free Dream Come True
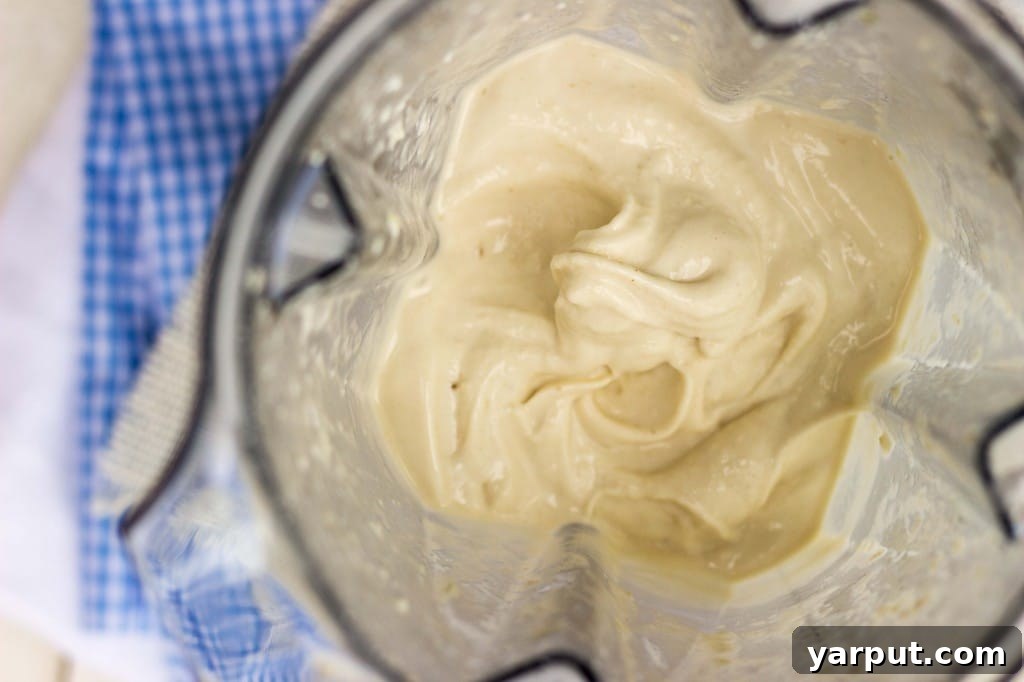
The core of these phenomenal ice cream sandwiches is the ingenious “nice” cream, a brilliant dairy-free alternative crafted from just frozen bananas. The inspiration for this revelation came from a captivating banana ice cream recipe on Pinch of Yum, and I instantly knew I had found my calling. For years, my special ice cream indulgence has been banana ice cream topped with peanuts, a creamy and delicious treat I allowed myself only occasionally. The idea of recreating that magic without a mountain of milk, cream, and sugar was revolutionary.
The transformation of frozen bananas into a scoopable, velvety “nice” cream is nothing short of culinary alchemy. It’s a game-changer for anyone seeking a dairy-free dessert that doesn’t compromise on taste or texture. When blended, the natural sugars and pectin in ripe bananas create an astonishingly creamy base, so rich and smooth you’ll hardly believe it’s not traditional ice cream. This innovative approach allows us to enjoy a delightful frozen treat without the heavy cream, excessive sugar, or any animal products often found in conventional ice cream. It’s naturally sweet, packed with potassium, and surprisingly light.
For an extra layer of decadence and to ensure optimal creaminess, especially when preparing these for freezing into sandwiches, I’ve incorporated a touch of cashew cream. Soaking raw cashews overnight softens them, allowing them to blend into a luscious, neutral-flavored cream that perfectly complements the bananas. This crucial addition ensures your ice cream maintains its delightful, smooth texture even after an extended stay in the freezer, preventing it from becoming too icy. If you plan to enjoy the “nice” cream immediately, you can likely skip the cashew cream step, but for the sandwich format, it’s highly recommended.
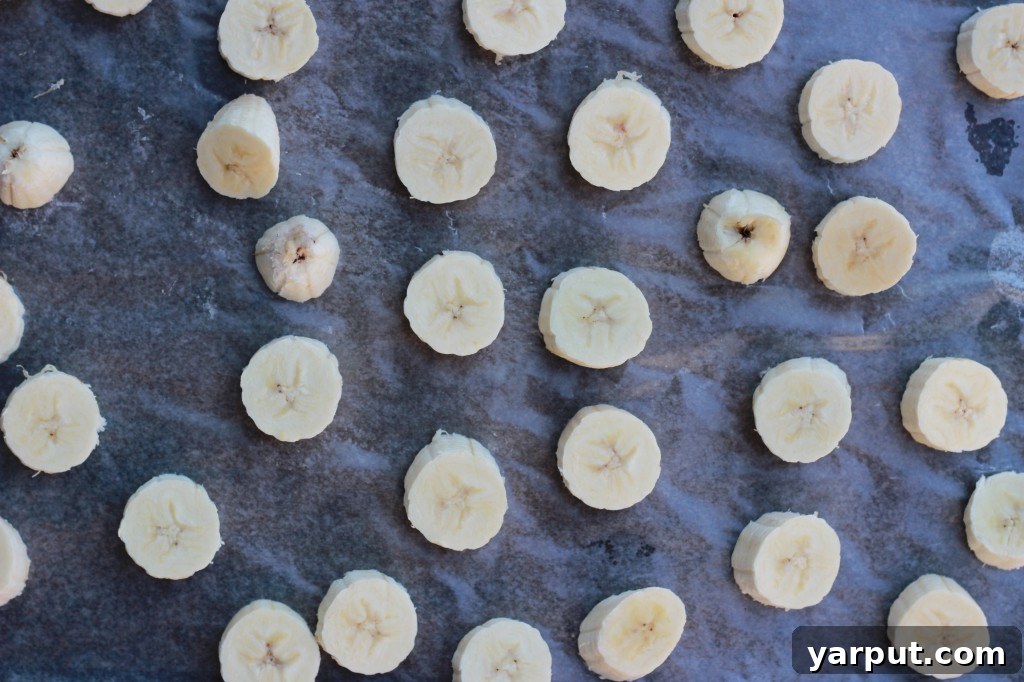
The process is incredibly simple: slice ripe bananas, freeze them solid, then blend them with a few other ingredients until a luscious, soft-serve-like consistency is achieved. It’s so easy, you’ll find yourself making it all summer long! The small pieces of frozen banana also make fantastic, refreshing snacks on their own, a little bonus for your efforts.
Crafting the Ultimate Peanut Butter Cookie Base: Vegan & Gluten-Free Perfection
With the banana “nice” cream perfected, my thoughts immediately turned to the ideal companion for an ice cream sandwich. And what pairs more harmoniously with banana than peanut butter? It’s a classic combination, a culinary duo that’s simply meant to be. The rich, nutty flavor of peanut butter provides the perfect counterpoint to the sweet, subtle notes of banana, creating a truly unforgettable taste experience.
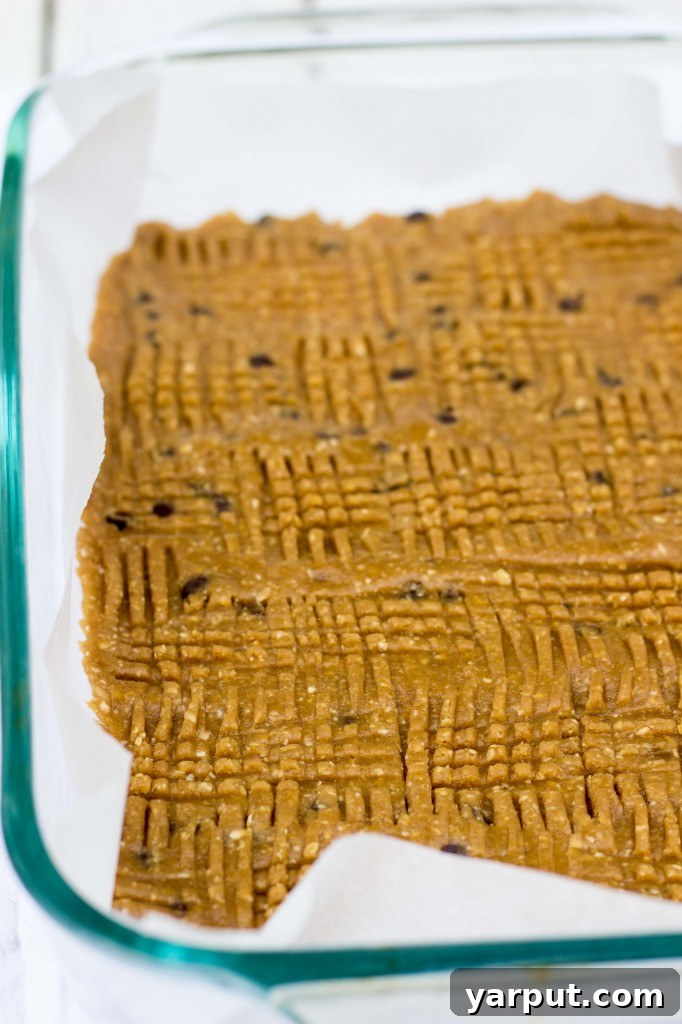
I adapted this peanut butter cookie recipe from the wonderful Blissful Basil. What drew me to it was its brilliant formulation as both vegan and gluten-free, ensuring that these ice cream sandwiches could be enjoyed by a wider audience, including all my plant-based and gluten-sensitive friends. This thoughtful recipe uses oat flour, providing a wholesome, sturdy, yet tender texture that holds up beautifully to freezing, which is essential for an ice cream sandwich.
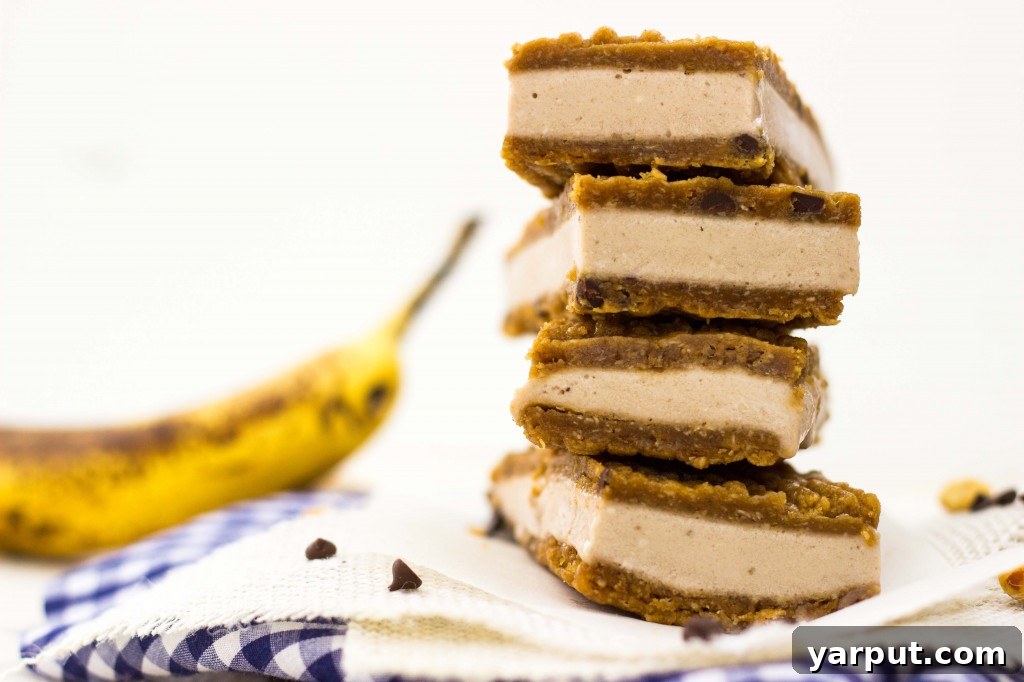
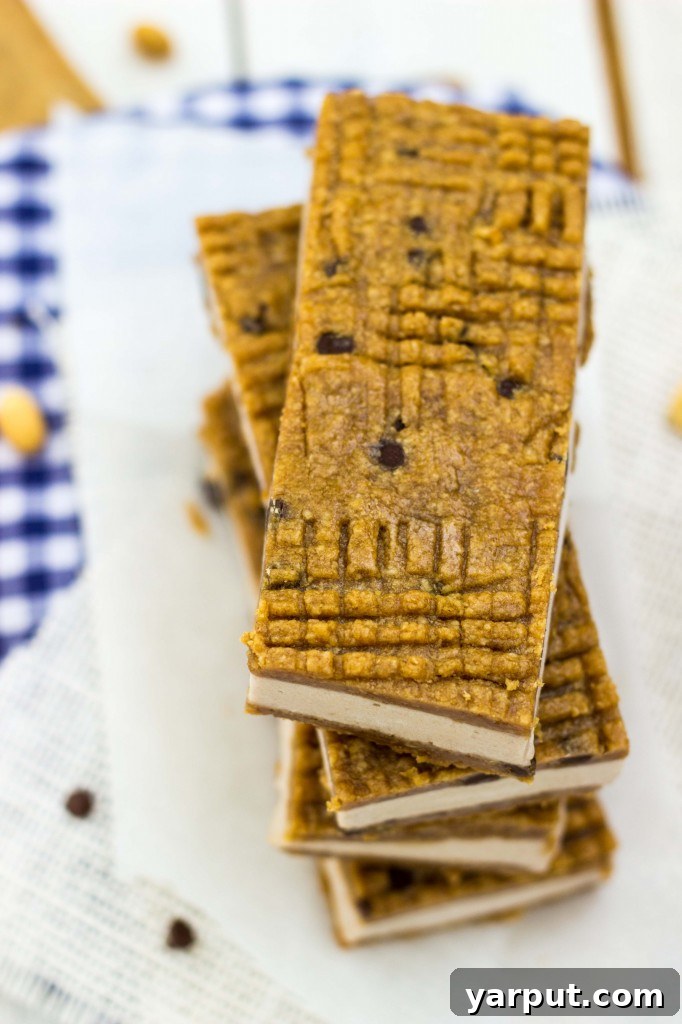
The cookie dough itself is a dream to work with, combining creamy peanut butter with brown sugar, maple syrup, and vanilla for a deep, satisfying flavor profile. The secret to the perfect sandwich cookie lies in slightly under-baking it. This ensures that the cookie remains wonderfully soft and chewy even after it’s been frozen solid with the ice cream filling. A brittle, crumbly cookie would simply detract from the overall experience. Instead, you get a harmonious bite where the cookie yields perfectly to the creamy interior. I also added some traditional fork marks on top of the dough before baking, giving them that classic peanut butter cookie appearance, but this step is entirely optional and doesn’t affect the flavor or texture.
Assembling Your Masterpiece: Tips for Perfect Ice Cream Sandwiches
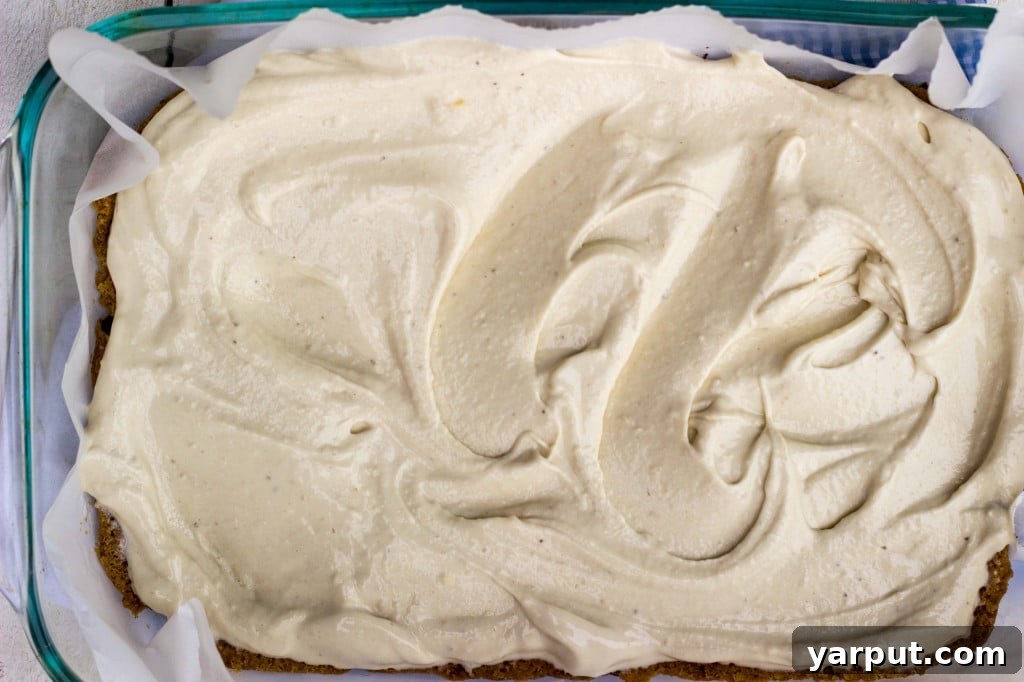
Bringing these two delectable components together is where the magic truly happens. Once your peanut butter cookie bases are baked to perfection and cooled, and your banana “nice” cream is freshly blended and at a soft-serve consistency, the assembly is straightforward yet incredibly satisfying. The key to easy removal and neat slicing is lining your 9×13 inch baking dish with parchment paper, allowing it to overhang on the sides. This creates “handles” for lifting the entire slab later.
Carefully place one cooled peanut butter cookie layer at the bottom of the parchment-lined pan. A little trick I found for a neater top is to flip the cookie upside down before placing it, so the smoother bottom becomes the top of your sandwich. Then, generously spoon the banana “nice” cream over the first cookie layer. Using an offset spatula or the back of a spoon, spread the ice cream evenly across the entire surface, making sure to reach the edges. The creamy texture of the “nice” cream makes this step a breeze. Finally, carefully slide the second peanut butter cookie on top of the ice cream layer, pressing down gently to create a cohesive sandwich structure.
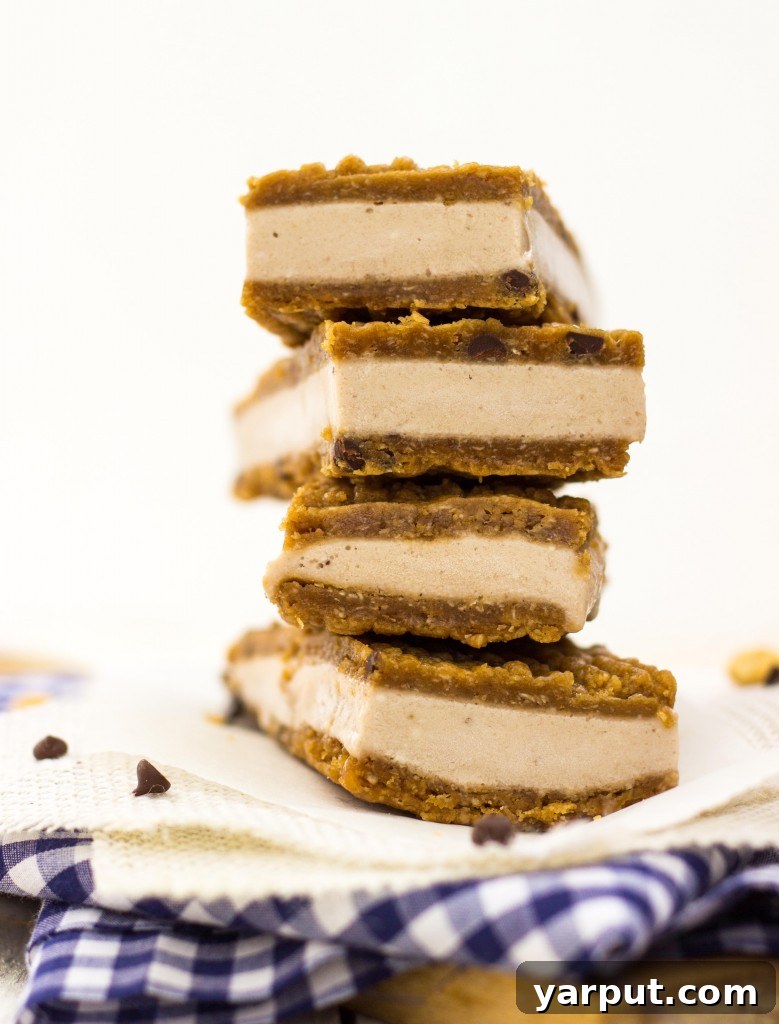
Once assembled, place the entire pan into the freezer. This crucial freezing time, at least two hours, allows the ice cream to firm up completely and the flavors to meld beautifully. The cookies will also firm up to the perfect chewy consistency. When you’re ready to enjoy these frozen delights, simply lift the entire block of ice cream sandwiches out of the pan using the parchment paper handles. Place it on a cutting board and use a sharp knife to slice it into your desired bar sizes. For the best eating experience, especially if they’ve been in the freezer overnight, allow them to sit at room temperature for just a few minutes before diving in to let the cookie soften slightly.
Beating the Heat: Photography Challenges & Delicious Rewards
Please allow me a brief moment of commiseration: photographing ice cream sandwiches outdoors is an incredibly challenging task, especially when the mercury is soaring above 100 degrees Fahrenheit! My initial batch of photos literally looked like a melting disaster. The ice cream was rapidly liquefying, and the cookies were losing their pristine form. It was a truly “hot mess” situation. Surprisingly, my perfectionist side vehemently won out over my lazy side, compelling me to redo the entire photoshoot the very next day when the temperatures were slightly more forgiving.
Despite the photographic tribulations, these ice cream sandwiches proved to be the ultimate reward. They are, without a doubt, a supremely delicious and incredibly refreshing treat to enjoy when the weather is sweltering. Every creamy, peanut-buttery bite made all the effort, including the double photoshoot, entirely worth it. The struggle only underscored just how perfect these frozen treats are for beating the summer heat. So, rest assured, if they can survive my photo session in the blazing sun (eventually), they can definitely bring cool joy to your palate!
Enjoy the unparalleled satisfaction of biting into these homemade, healthy, and utterly delightful Peanut Butter & Banana Ice Cream Sandwiches!
Print
Peanut Butter & Banana Ice Cream Sandwiches {gluten free + vegan}
5 Stars 4 Stars 3 Stars 2 Stars 1 Star
5 from 6 reviews
Ingredients
Scale
Peanut Butter Cookies:
- 1 cup brown sugar
- 1 cup creamy peanut butter, no stir
- 1 tablespoon maple syrup
- 1 1/2 teaspoons vanilla extract
- 1 cup oat flour
- 1 teaspoon baking powder
- 1/8 teaspoon salt
- 1/4 cup almond milk
- 2 tablespoons mini chocolate chips, dairy free if necessary
Banana Ice Cream:
- 4 ripe bananas
- 1/2 cup raw cashews, soaked in water overnight and rinsed and drained
- 3/4 cup almond milk, divided
- 1 tablespoon maple syrup
Instructions
Peanut Butter Cookies:
- Preheat oven to 350 degrees F (175 degrees C).
- In a large bowl, using an electric mixer, cream together the peanut butter and brown sugar for approximately 1 minute until well combined and fluffy. Then, add in the vanilla extract and maple syrup and mix again until fully incorporated.
- In a separate medium-sized bowl, whisk together the oat flour, baking powder, and salt until evenly distributed.
- Gradually add the dry flour mixture to the wet peanut butter mixture in two batches, mixing thoroughly after each addition until everything is combined into a cohesive dough. Stir in the almond milk until just incorporated. Finally, fold in the mini chocolate chips gently with a spoon or your hand.
- Divide the cookie dough in half. Line a 9×13 inch baking dish with parchment paper, leaving an overhang on the sides for easy removal. Press one half of the dough mixture evenly across the bottom of the pan to form a thin, uniform layer that covers the entire surface.
- Place the pan into the preheated oven and bake for 12 minutes. The cookie dough may appear slightly underdone, but it will firm up as it cools and even more when frozen. This slight under-baking is crucial for a soft, chewy ice cream sandwich cookie. Carefully lift the cookie dough out of the pan by the parchment paper and transfer it to a wire cooling rack.
- Repeat the same process for the second half of the cookie dough. Allow both ice cream sandwich cookies to cool completely on the rack before proceeding to assembly.
Banana Ice Cream:
- Peel the ripe bananas and cut them into small, bite-sized pieces. Place them in an airtight container or freezer bag and freeze for at least 2 hours, or until solid.
- Add the thoroughly soaked, rinsed, and drained cashews to a powerful blender along with 1/4 cup of almond milk. Blend for about 30 seconds to 1 minute, scraping down the sides as needed, until you achieve a very creamy, smooth cashew paste.
- Next, add the frozen banana pieces, maple syrup, and the remaining 1/2 cup of almond milk to the blender. Blend until you achieve a rich, creamy, and smooth ice cream-like consistency, which typically takes about 2-3 minutes. You may need to stop the blender, push down the frozen bananas with a tamper or spoon, and mix to ensure the blades process all the pieces evenly.
Ice Cream Sandwiches:
- Line the 9×13 inch pan (the same one used for baking the cookies) with a fresh sheet of parchment paper, ensuring it overhangs on all sides. Carefully place one of the cooled peanut butter cookies into the bottom of the pan. For a smoother top appearance, you can gently flip the cookie so its flat bottom side faces up. Spread the banana ice cream evenly over the cookie layer, ensuring it reaches all the edges. Then, carefully slide the second peanut butter cookie on top of the ice cream, pressing down gently to form a compact sandwich.
- Place the assembled ice cream sandwiches into the freezer and freeze for a minimum of 2 hours, or until completely firm. When ready to serve, use the parchment paper overhang to lift the entire block out of the pan. Place it on a cutting board and slice into your desired individual ice cream bar sizes using a sharp knife.
Notes
If the bars have been in the freezer overnight or for an extended period, you might want to let them sit out at room temperature for just a few minutes (5-10 minutes) before enjoying them. This allows the cookies to soften slightly and the ice cream to become perfectly creamy, enhancing the overall texture.
- Category: Dessert, Gluten Free, Vegan
Throwback Thursday picture of baby Cheeto!