
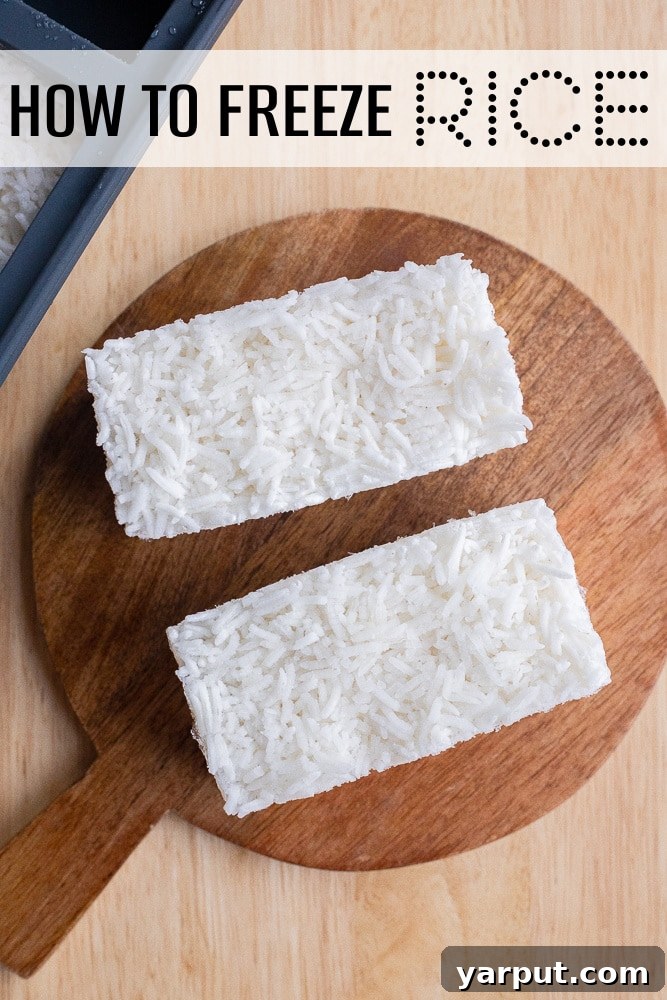
In our fast-paced lives, having readily available ingredients can be a true game-changer for quick and nutritious meals. Among these, cooked rice stands out as a versatile staple. Many of us have experienced the convenience of pre-packed frozen rice from the grocery store, but have also noted the recurring expense. The good news is, you can effortlessly make and freeze your own cooked rice at home, transforming it into a budget-friendly, time-saving powerhouse for meal preparation. Imagine effortlessly adding a scoop of perfectly cooked rice directly into your favorite sauces and soups, or quickly microwaving it with a touch of butter and salt for an instant side dish. By stocking your freezer with homemade frozen rice, you’re not just saving money and time; you’re investing in a more efficient and stress-free culinary routine.
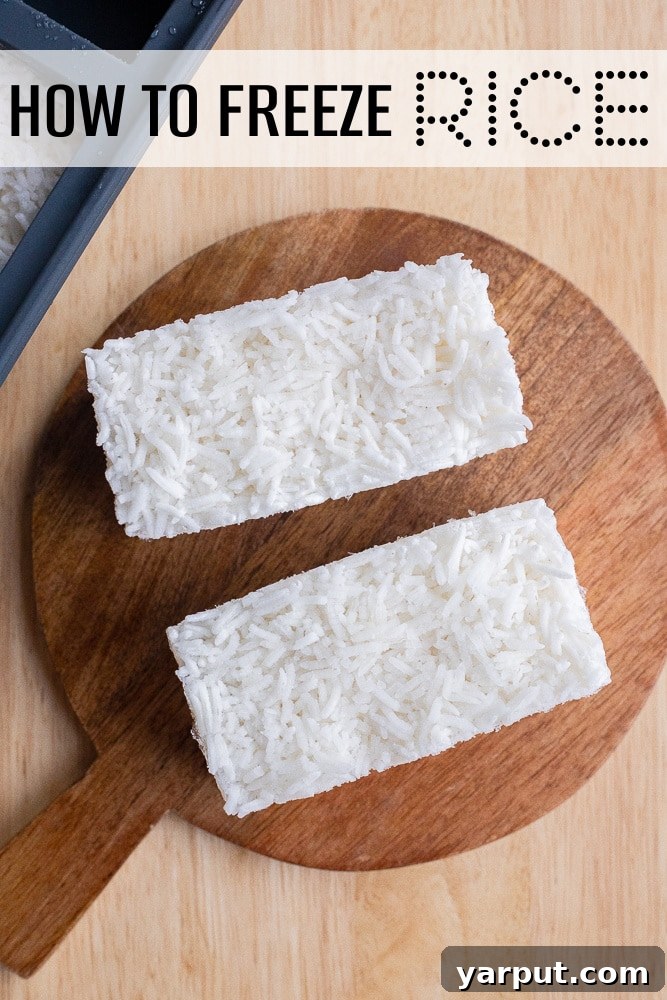
For years, I relied on commercially packaged frozen rice, appreciating its convenience. While cooking rice from scratch isn’t overly complicated, having it ready in just a few minutes, rather than waiting 20-25, makes a significant difference, especially when you have hungry family members eager for dinner. This comprehensive guide focuses specifically on freezing rice, but it’s worth noting that the principles and methods shared here are largely applicable to many other grains as well. My aim is to provide you with all the knowledge you need on how to freeze rice effectively, ensuring you won’t regret dedicating a little time today to stock up your freezer.
The Ultimate Guide to Freezing Rice for Easy Meal Prep
Freezing cooked rice is an incredibly simple yet highly effective strategy for efficient meal preparation. It extends the shelf life of your rice, reduces food waste, and ensures you always have a healthy carb source on hand. Below, we’ll delve into the precise steps for preparing, freezing, and reheating rice, along with crucial tips for optimal results and food safety.
Why Freezing Rice is a Game-Changer for Your Kitchen
Before we dive into the ‘how,’ let’s explore the compelling reasons why freezing rice should become a regular part of your cooking routine:
- Unmatched Convenience: Say goodbye to waiting for rice to cook. With frozen rice, you can have a warm, fluffy serving ready in minutes, perfect for busy weeknights or unexpected guests.
- Significant Cost Savings: Pre-packaged frozen rice can be surprisingly expensive. Freezing your own is far more economical, allowing you to stretch your grocery budget further.
- Effortless Meal Prep: Cook a large batch of rice once, then portion and freeze it. This simplifies future meal assembly, making healthy eating more accessible throughout the week.
- Reduced Food Waste: If you often find yourself with leftover rice that goes bad before you can use it, freezing is the perfect solution. It prevents spoilage and maximizes your food investment.
- Portion Control: Freezing rice in pre-measured portions helps you manage serving sizes, which can be beneficial for dietary planning and mindful eating.
- Versatility: Frozen rice can be incorporated into almost any dish, from stir-fries and soups to casseroles and burritos, offering endless culinary possibilities.
What Types of Rice Can You Freeze?
Almost any type of cooked rice can be successfully frozen. The method described in this guide is versatile and works well across various grain types:
- White Rice: Basmati, Jasmine, long-grain, and short-grain varieties all freeze beautifully, retaining their texture well upon reheating.
- Brown Rice: A popular whole-grain choice, brown rice freezes just as well as white rice. Its slightly chewier texture holds up perfectly in the freezer.
- Wild Rice: Known for its nutty flavor and distinct texture, cooked wild rice is also freezer-friendly and can be stored using the same techniques.
- Other Grains: Beyond rice, this method is excellent for freezing other cooked grains like quinoa, farro, couscous, and buckwheat. It’s an efficient way to prep a variety of healthy bases for your meals.
Step-by-Step Guide: How to Freeze Cooked Rice Perfectly
Freezing cooked rice is straightforward, but following these steps will ensure optimal texture and food safety.
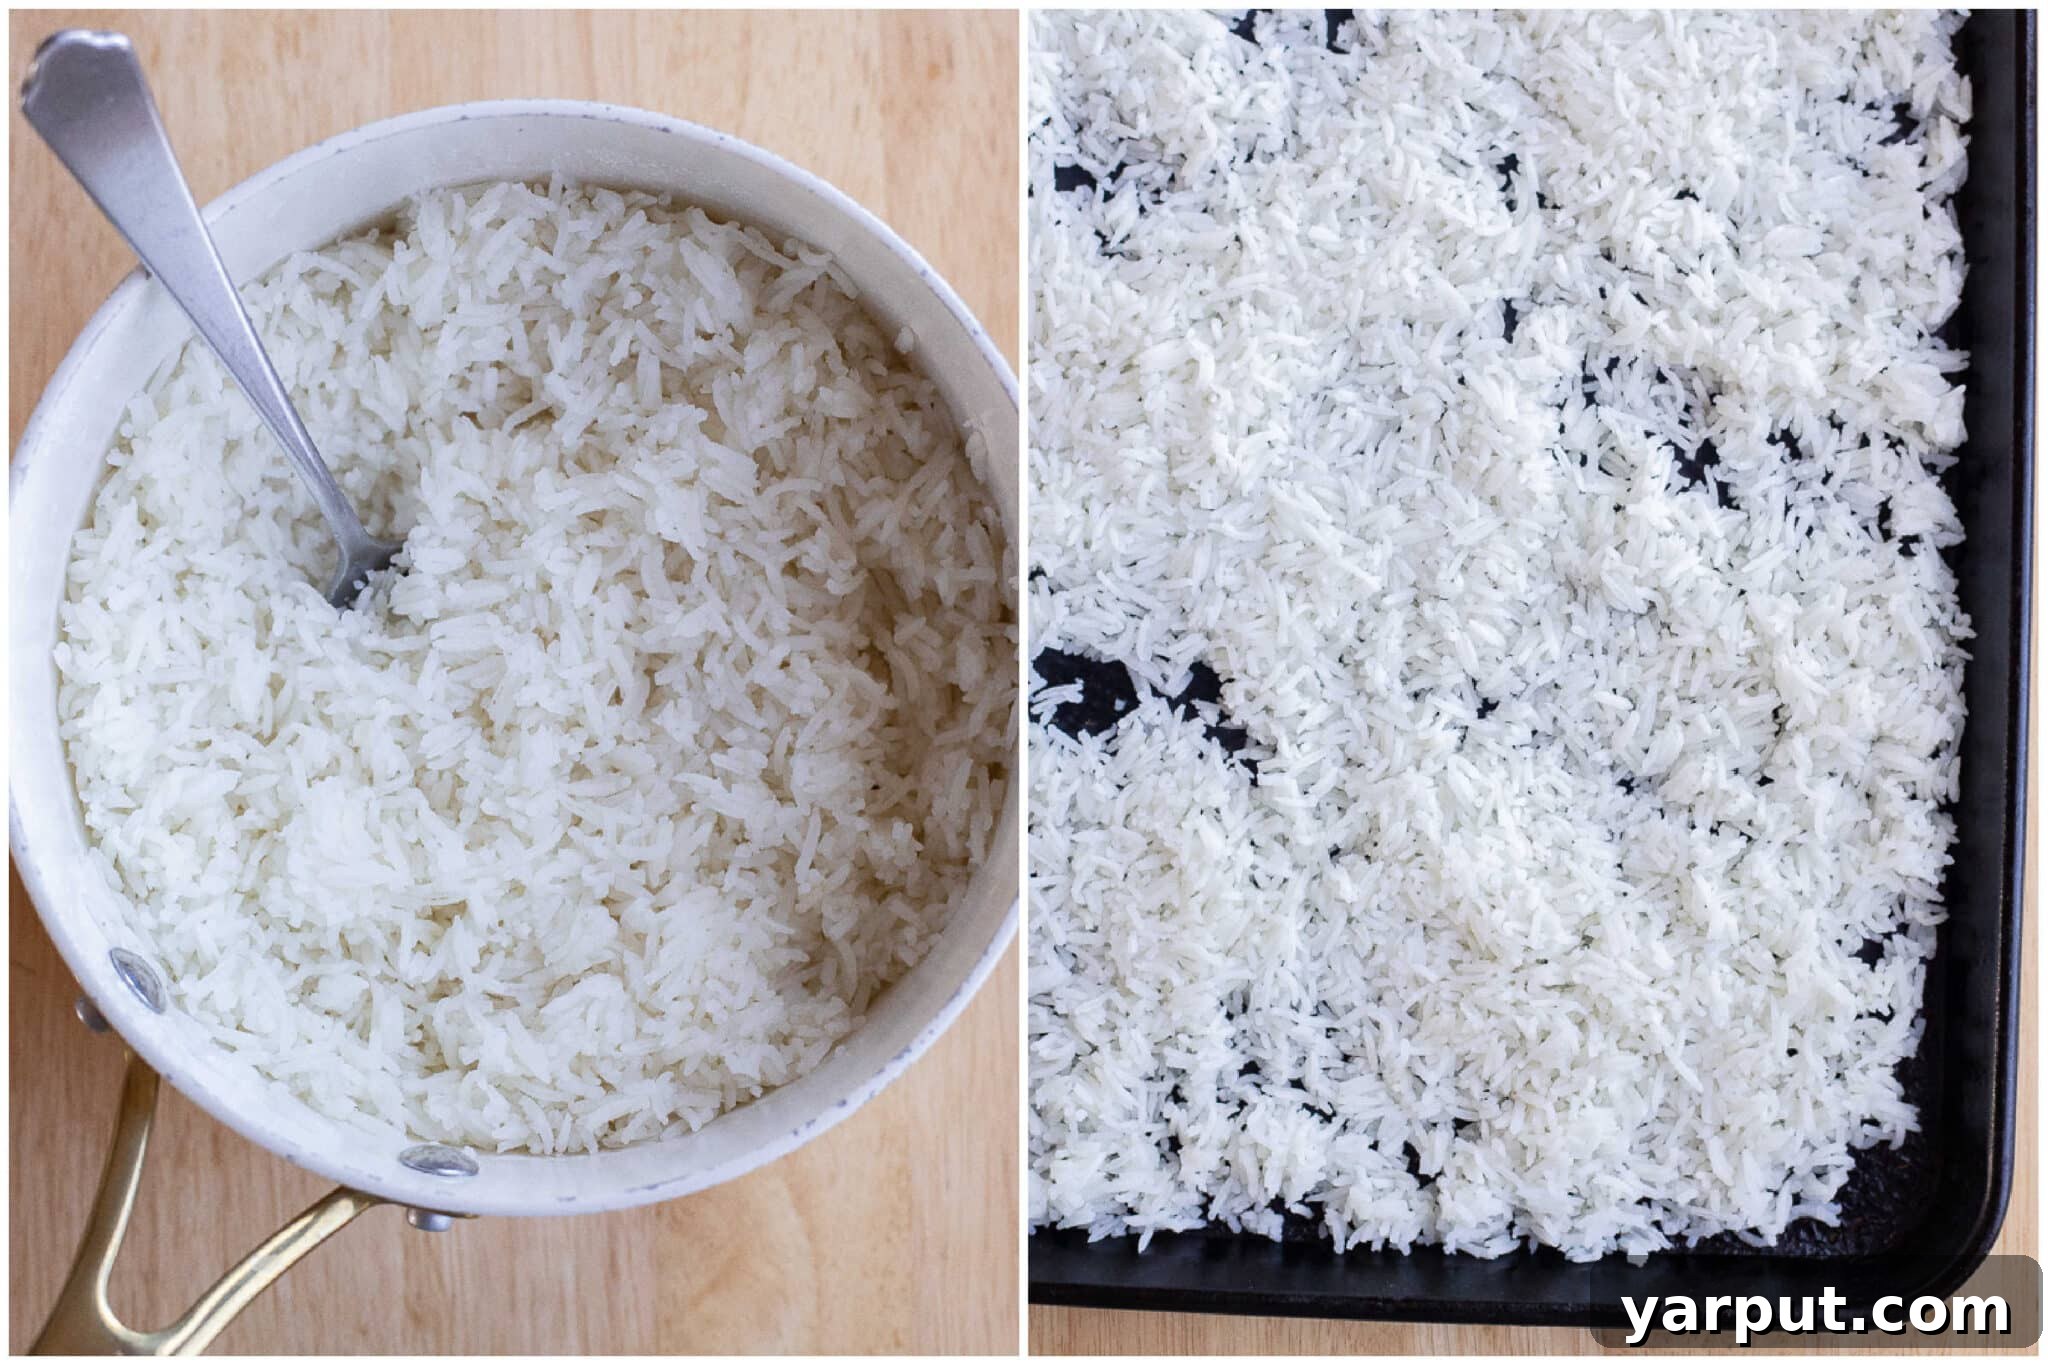
- Cook Rice to Perfection: Start by cooking your desired type of rice according to its package directions. For best results and to enhance safety, I highly recommend thoroughly rinsing your rice under cold water before cooking. This removes excess starch, which can lead to stickiness and improves the grain’s texture. Once the rice is cooked and the heat is turned off, keep the lid on the pot and let it sit, undisturbed and covered, for approximately 10-15 minutes. This steaming period allows the rice to fully absorb any remaining moisture and become perfectly tender. After resting, remove the lid and use a fork to gently fluff up and separate the grains. Avoid packing it down, as this can make it mushy.
- Cool the Rice Completely and Quickly: This is a critical step for food safety and preventing undesirable texture. Rice that cools slowly can become a breeding ground for bacteria. You have a couple of options here:
- In the Pot: Allow the rice to cool in the pot, stirring occasionally to release steam. This method takes longer.
- Sheet Pan Method (Recommended): For faster and safer cooling, immediately empty the hot rice onto a large, clean baking sheet. Spread the rice into a thin, single layer. This maximizes the surface area, allowing heat to dissipate rapidly. Once spread, let it sit at room temperature for no longer than one hour, ensuring it cools completely. If you live in a hot climate, or for extra precaution, you can place the sheet pan in the refrigerator for a short period once it has cooled to lukewarm, but be sure it’s fully cooled before packaging.
- Portion and Package for Freezing: Once the rice is completely cool to the touch, it’s ready for packaging. The type of container you choose is important for preventing freezer burn and maintaining quality.
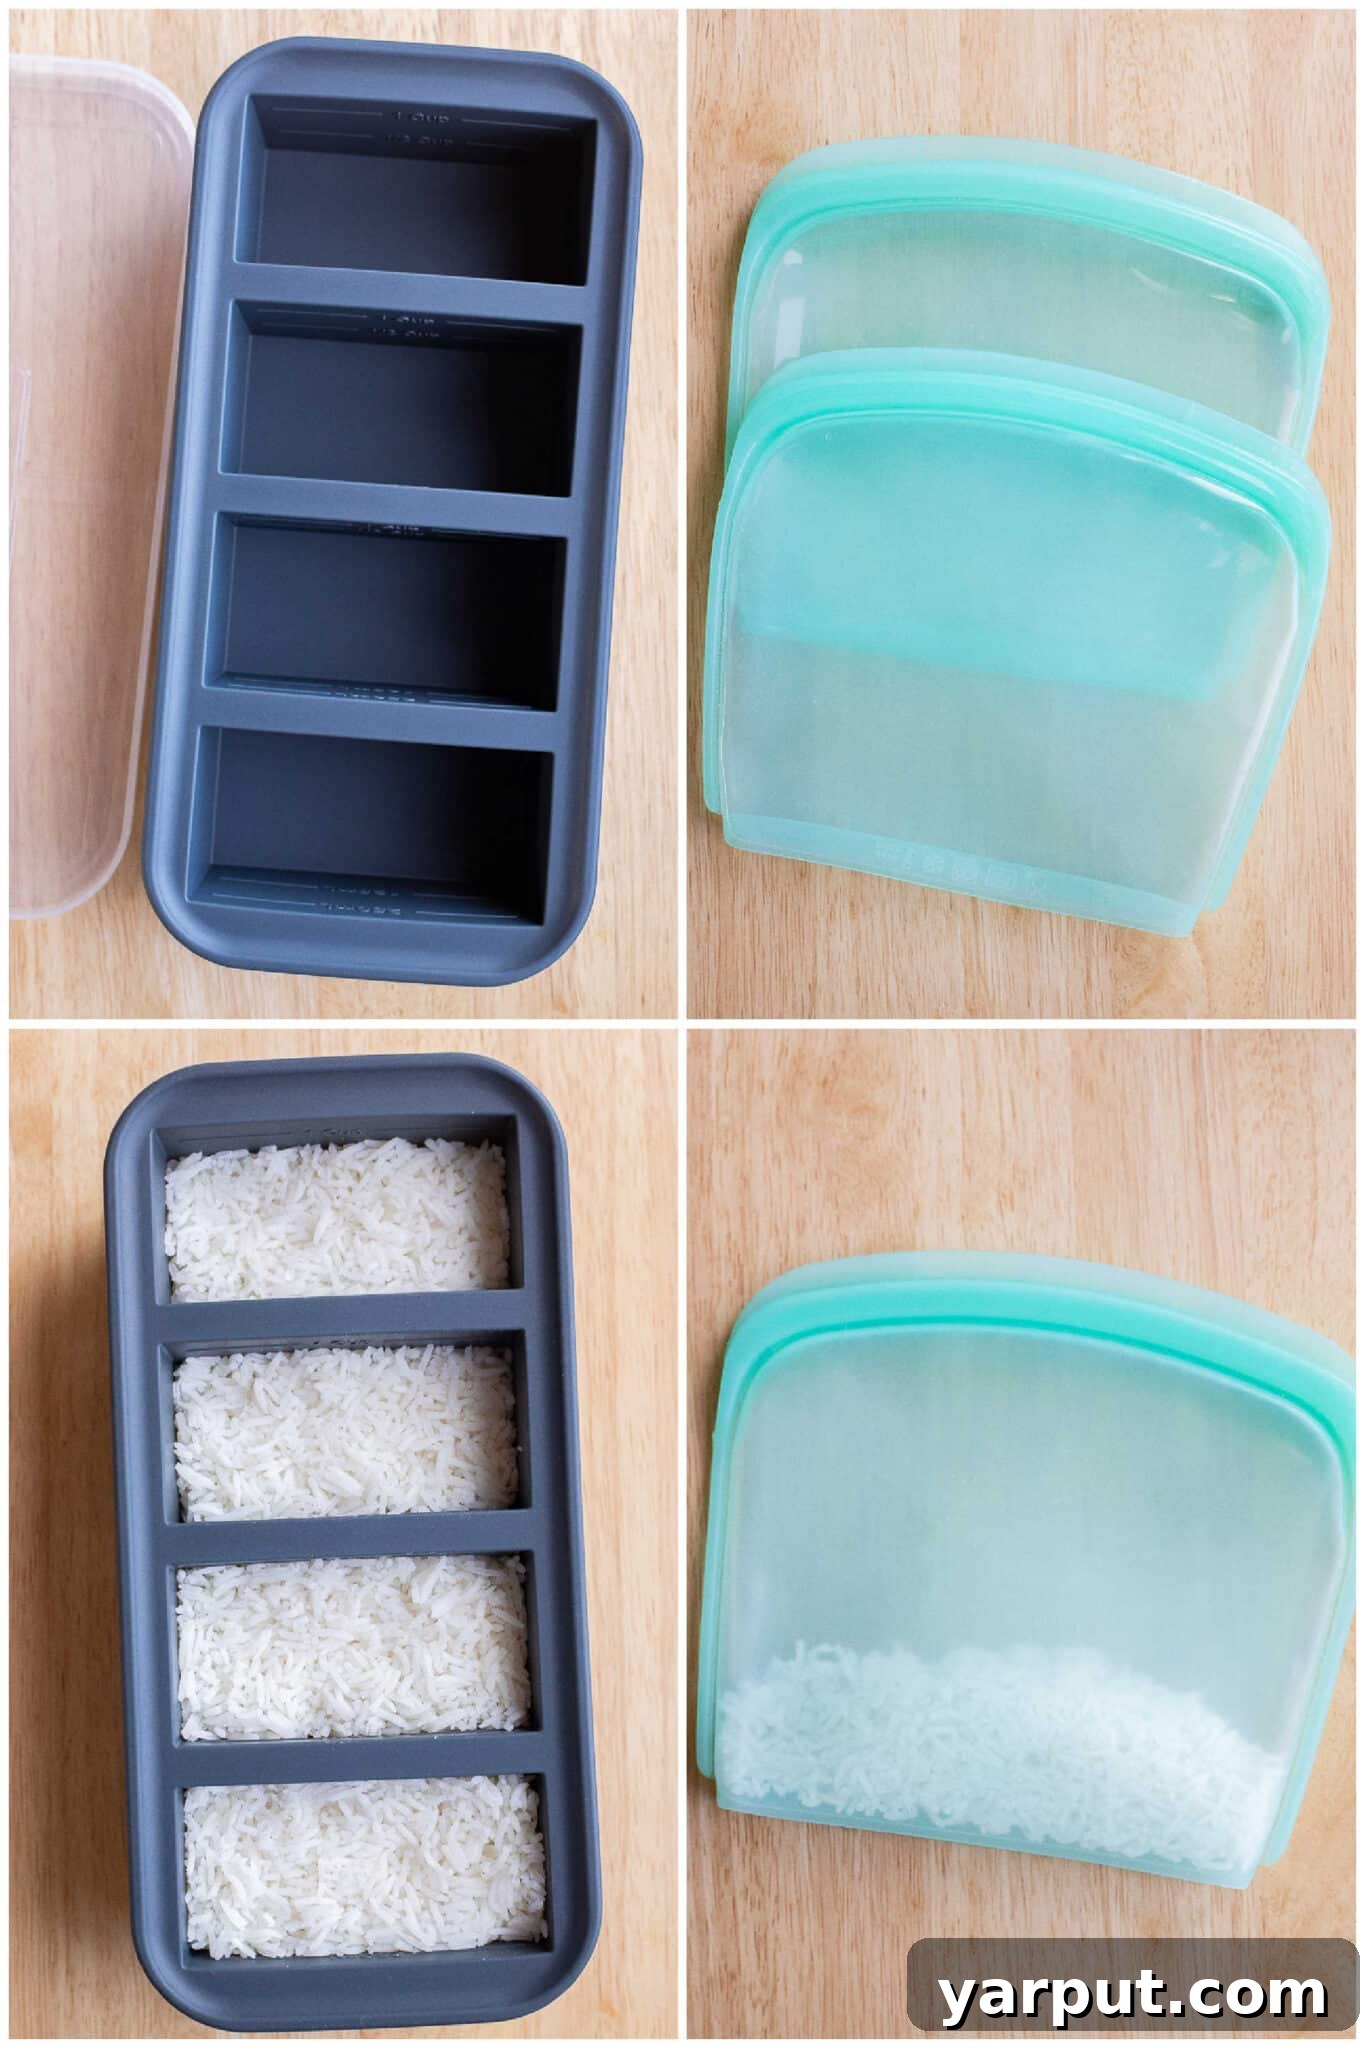
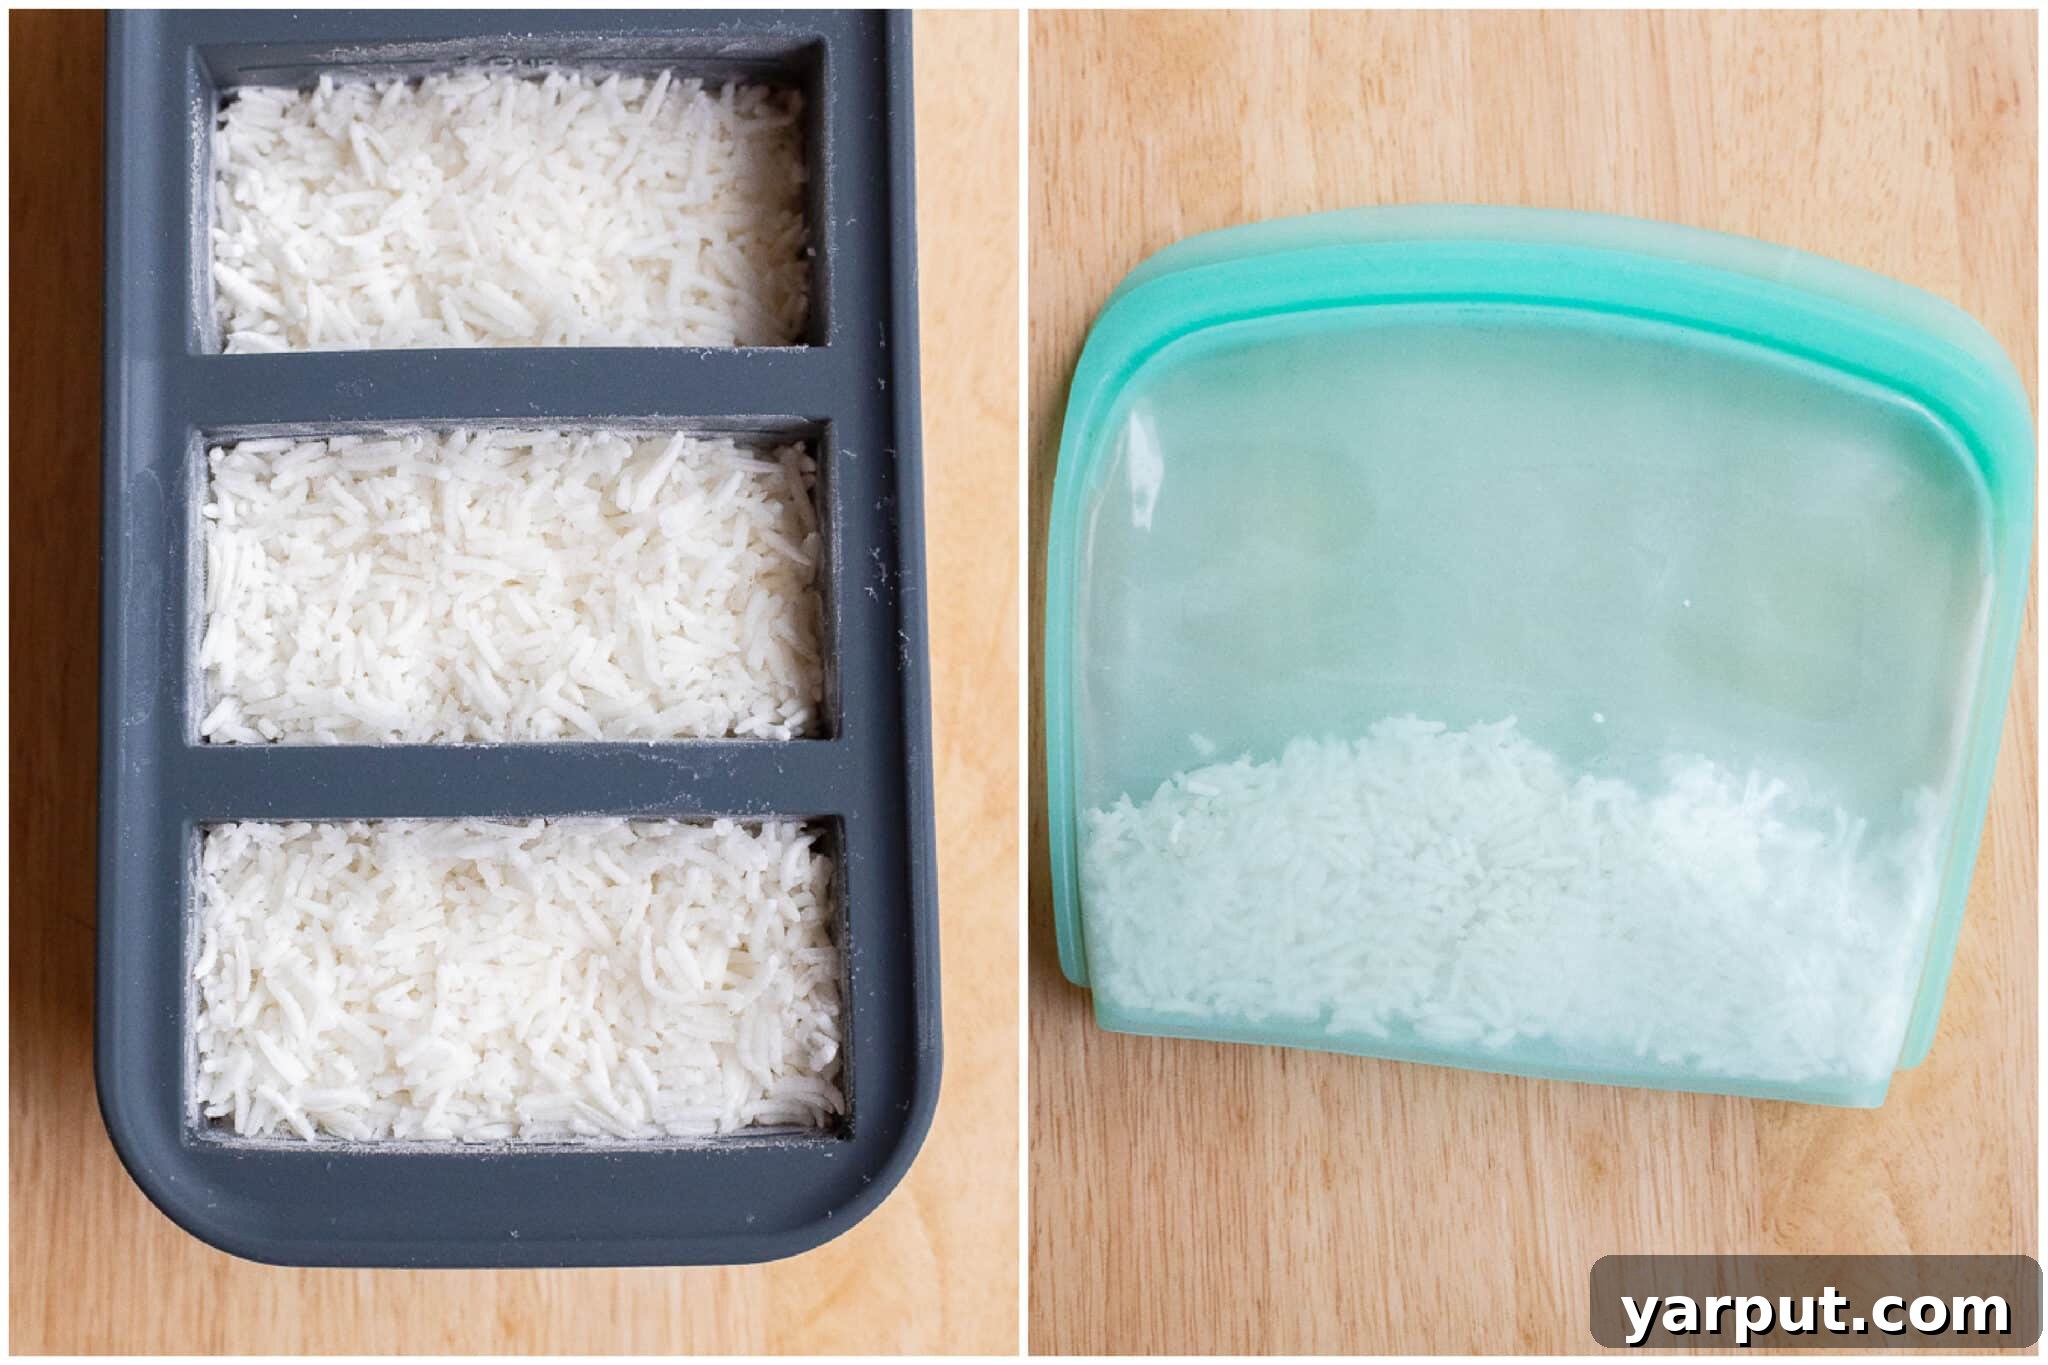
- Airtight Containers: I recommend using freezer-friendly zip-top bags or silicone cube storage, similar to what you see pictured in this guide. The key is to minimize empty space above the rice, as air exposure is the primary cause of freezer burn.
- Silicone Molds: These are excellent for creating individual portions that pop out easily, much like ice cubes.
- Freezer Bags: When using freezer bags, gently press out as much air as possible before sealing. Flattening the rice in the bag creates thin, even portions that freeze and thaw more quickly.
I find it most convenient to freeze rice in measured portions, typically 1/2 cup or 1 cup servings, which are perfect for single meals or adding to recipes. However, you should determine the portion sizes that best suit your individual needs and household.
- Label and Store: After filling your containers or bags, lightly push the rice down to remove any remaining air and ensure a tight seal. Crucially, use a permanent marker to write the date of freezing and the measurement on the outside of each package. This ensures you use the oldest rice first and easily know how much you’re grabbing. Place the labeled packages in your freezer. Properly stored frozen rice can maintain its quality for approximately 3-6 months.
How to Reheat Frozen Rice Safely and Effectively
Reheating frozen rice is just as easy as freezing it, and there are several convenient methods depending on your needs.
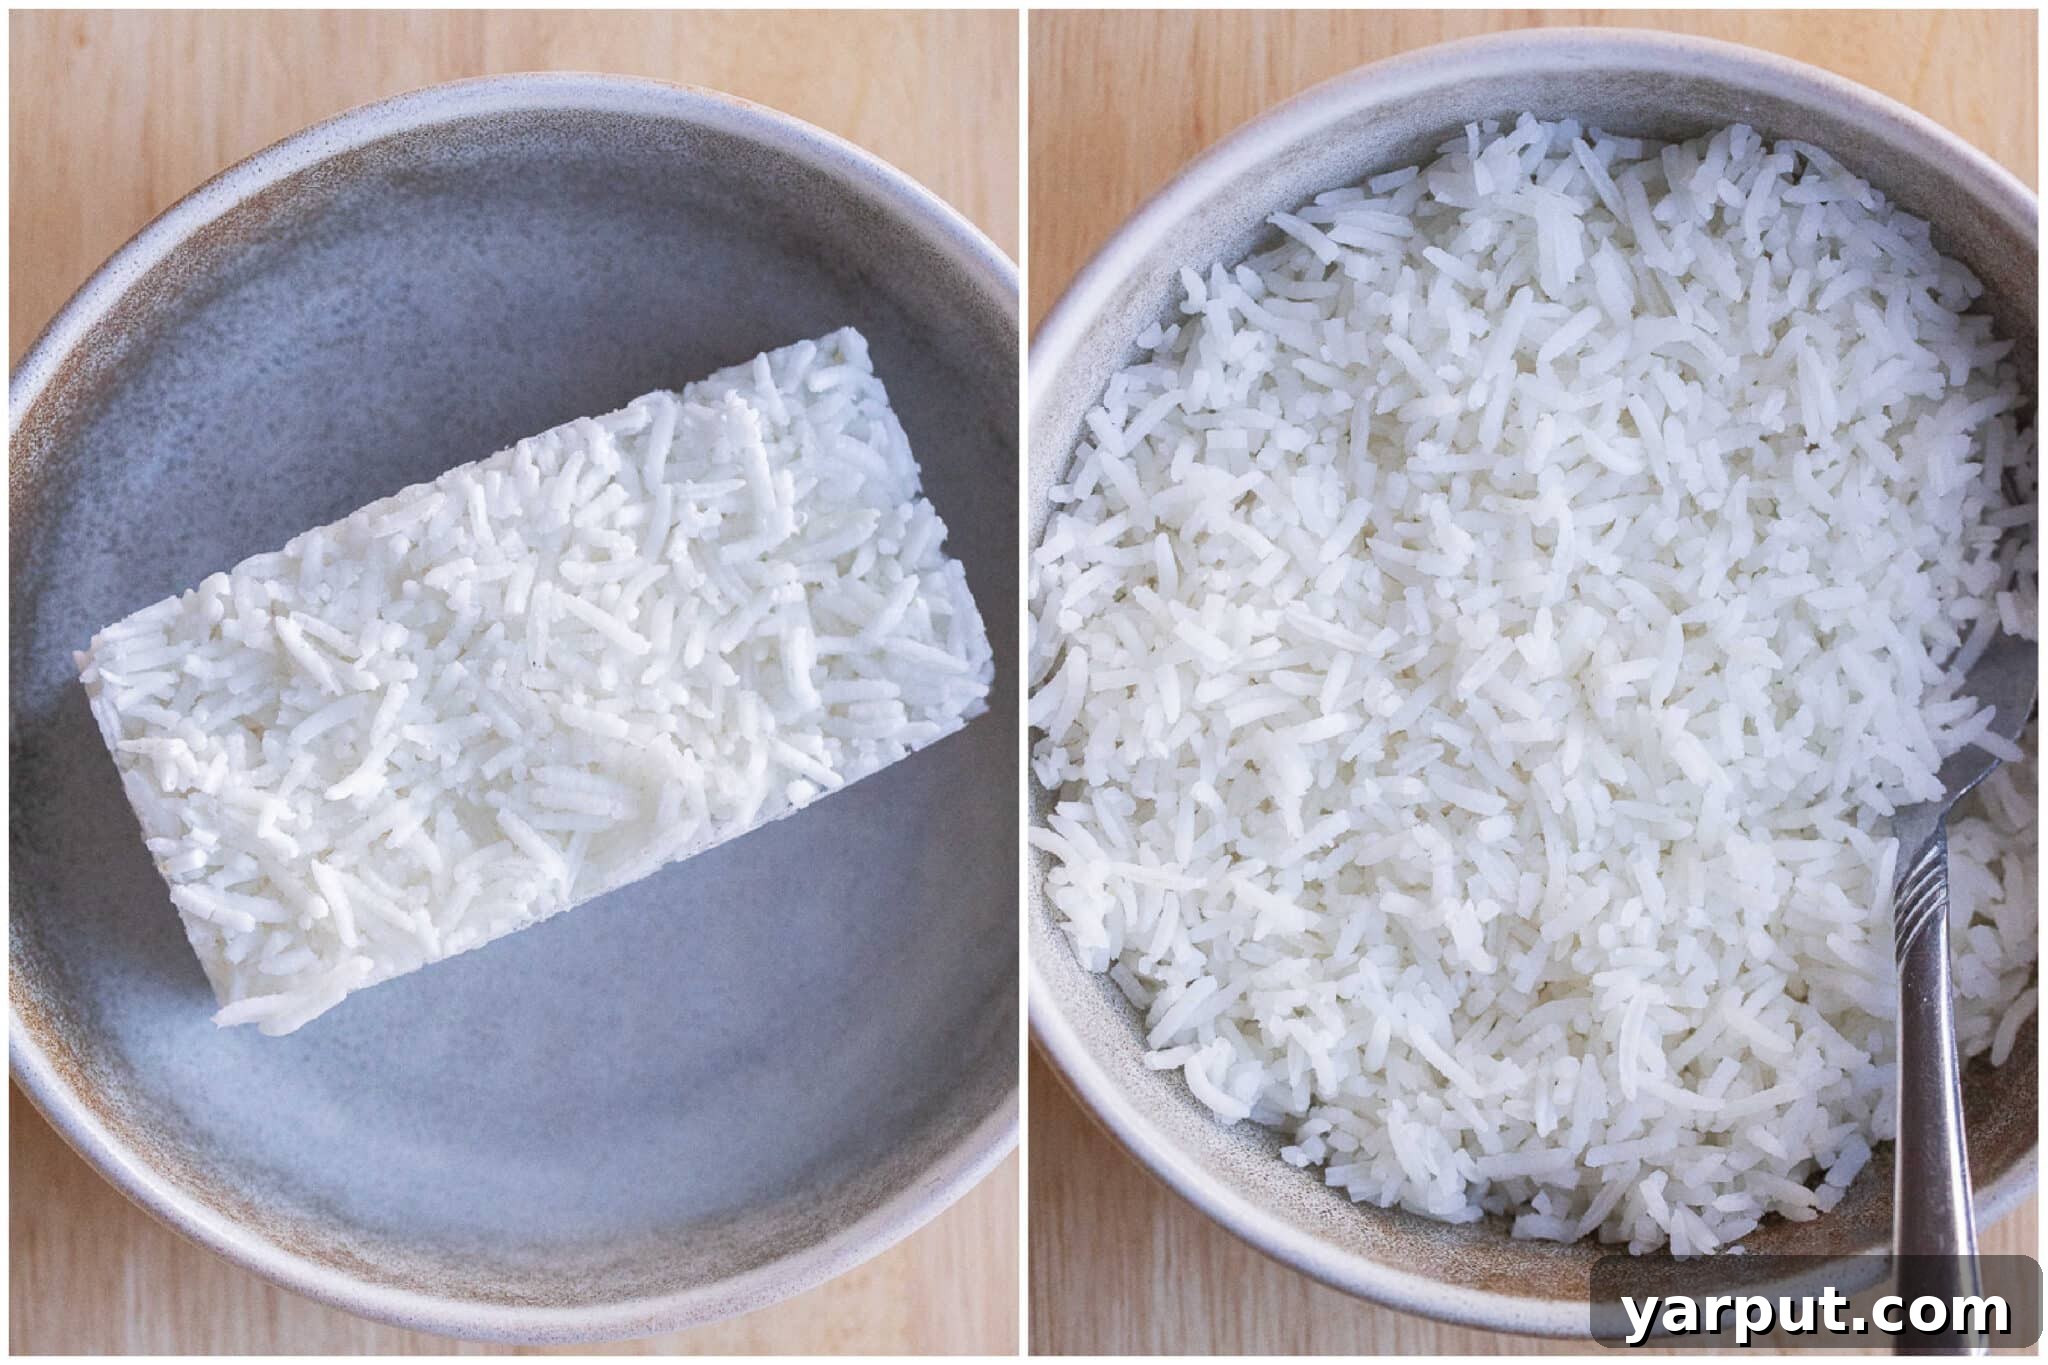
- Microwave Method (Quickest): Place your desired portion of frozen rice in a microwave-safe container. To ensure even heating and to reintroduce moisture, cover the rice with a damp paper towel or a microwave-safe plastic splatter cover. This creates a steamy environment that helps the rice heat through without drying out. Microwave in 30-second intervals, checking and stirring after each interval, until the rice is thoroughly heated and fluffy. Depending on the portion size, this usually takes 1-3 minutes.
- Stovetop Method (For Larger Batches or Enhanced Texture): Transfer the frozen rice to a small to medium-sized pot or skillet. Add about 1-2 tablespoons of water (per cup of rice) to the pot, then cover tightly with a lid. Place it over low to medium heat, allowing the rice to steam gently for a few minutes. As it heats, you’ll notice the grains starting to break apart. Once the rice has completely thawed and is warm, stir it occasionally until all excess water has evaporated and it’s heated through. This method can help restore a freshly cooked texture.
- Direct Addition to Hot Dishes: This is arguably the most convenient method for many recipes. If you’re preparing a hot dish such as soup, stew, a one-pot dinner, or a curry, you can add the frozen rice directly into the pot. There’s no need to thaw it beforehand. Simply stir it into the simmering liquid, and it will thaw and heat through as it cooks with the rest of your ingredients.
- Refrigerator Thawing (For Cold Dishes or Advance Planning): If your recipe calls for thawed rice (e.g., for a cold rice salad or a quick mix-in where direct heat isn’t appropriate), you can plan ahead. Simply transfer the frozen rice from the freezer to the refrigerator several hours or even a day in advance. It will slowly thaw to a usable state. Alternatively, for quicker thawing, you can leave it at room temperature for an hour or two, ensuring it doesn’t sit out for too long. Once thawed, you can use it in your desired recipe or reheat it using one of the above methods.
Essential Tips for Success: Making, Storing, and Using Frozen Rice
Maximizing the benefits of frozen rice involves a few key practices:
- Enhance Flavor During Cooking: To elevate the taste of your rice, consider cooking it in vegetable or chicken broth instead of plain water. A small amount of butter or a pinch of salt added to the cooking water can also infuse subtle flavor.
- For Extended Freezer Life (Vacuum Sealing): If you aim for the longest possible freezer life, consider using silicone containers for freezing. Once the rice blocks are completely solid, remove them from the molds and vacuum-seal each portion individually. This method virtually eliminates air exposure, drastically reducing the risk of freezer burn and allowing you to store rice effectively for up to 6 months, or even longer in deep freezers.
- Plan Ahead for Thawing: If you know you’ll be using thawed rice for dinner or a specific recipe, transfer the frozen portions to the refrigerator 1-2 days in advance. This allows for a gentle and safe thawing process, making the rice ready to use whenever you are.
- Never Re-freeze Thawed Rice: This is a crucial food safety rule. Once rice has been frozen, thawed, and then potentially left at room temperature, refreezing it can encourage the growth of harmful bacteria. Always use thawed rice immediately or discard it.
- Choose the Right Storage Containers: Freezer-friendly Ziploc bags are excellent for their flexibility and ease of air removal. Reusable silicone bags or containers, as often depicted in this guide, are also fantastic, offering an eco-friendly option. Some reusable bags are even designed to be microwave-safe, allowing you to reheat your rice directly within the bag.
- Avoid Overcooking for Freezing: When cooking rice specifically for freezing, aim for a slightly al dente texture. Overcooked or mushy rice tends to become even softer and less desirable after freezing and reheating.
Frequently Asked Questions About Freezing Rice
How much rice can you freeze at once?
You can freeze as much cooked rice as you desire! The key is to measure and freeze it in small, individual portions. This makes it incredibly convenient for quick reheating or thawing only what you need, preventing waste and ensuring even heating.
Can brown rice be frozen this way?
Absolutely! Brown rice freezes beautifully using this exact method. Its heartier texture holds up exceptionally well to the freezing and thawing process, making it an excellent candidate for meal prep.
Can other grains be frozen using these steps?
Yes, this method is remarkably versatile. You can apply these same freezing techniques to a wide variety of other cooked grains, including quinoa, farro, barley, couscous, and buckwheat. It’s an efficient way to expand your meal prep options.
How long can rice be safely frozen for?
While I generally recommend using frozen rice within about three months for optimal taste and texture, if stored extremely well in airtight containers or vacuum-sealed, it can safely last in the freezer for up to six months.
Does rice need to be thawed before adding it to a recipe?
It depends on the recipe. If you’re adding frozen rice to a hot, simmering dish like soup, stew, or a one-pot meal, you can throw it in directly from the freezer. However, if you’re making a dish like a cold rice salad, a burrito bowl where it needs to be mixed in quickly, or something that doesn’t involve a lot of liquid, it’s best to thaw the rice beforehand to ensure even incorporation and temperature.
Have a question that wasn’t covered here? Please feel free to ask in the comment section below, and I will get back to you as soon as possible!
Delicious Ideas: Looking For More Ways To Use Your Frozen Rice?
Once you have a steady supply of frozen rice, a world of culinary possibilities opens up. Here are some fantastic recipes that can be made even easier with your pre-prepped rice:
Cheesy Broccoli Rice Casserole with Tofu
Vegetarian Fajita Rice Casserole
Cheesy Bean and Rice Burritos
Easy Rice and Bean Stir-Fry
Rice and Bean Taco Casserole
Simple Ingredients for Freezing Rice:
- 1 cup dry white rice (or any variety), or adjust quantity to your needs
Supplies You’ll Need:
- Large pot for cooking rice
- Large sheet pan for cooling
- Measuring cups for portioning
- Freezer-friendly storage containers (zip-top bags, silicone molds, or airtight containers)
- Permanent marker for labeling
Detailed Instructions for Freezing Rice (Simplified):
- Cook Rice: Follow package directions for your chosen rice, rinsing well beforehand. After cooking, let it sit covered for 10-15 minutes, then fluff with a fork.
- Cool Rapidly: Spread the cooked rice in a single layer on a large sheet pan to cool completely and quickly, ideally within one hour.
- Portion and Pack: Once cooled, transfer rice into freezer-friendly containers. Minimize air space to prevent freezer burn. Portion into desired sizes (e.g., 1/2 cup or 1 cup).
- Seal and Freeze: Press out as much air as possible from containers, seal tightly, and label with the date and quantity. Store in the freezer for 3-6 months.
Note: You can prepare and freeze any amount of rice using this method. Do NOT refreeze rice that has already been frozen and thawed.
If you’ve made this frozen rice yourself, we’d love to see it! Tag @shelikes.food on Instagram and use the hashtag #shelikesfood to share your creations.