
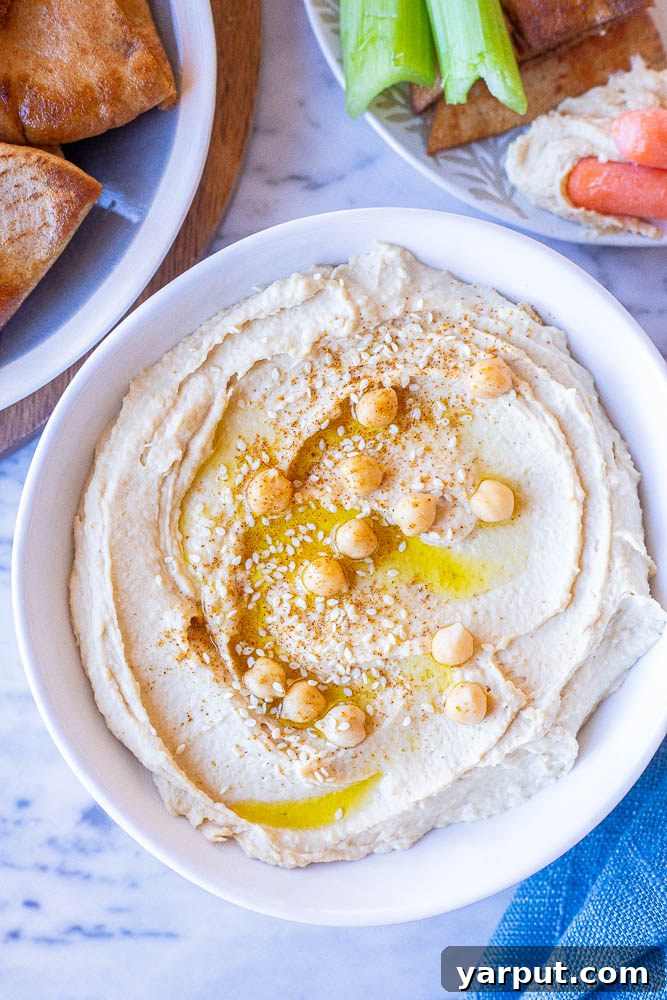
This is not just another hummus recipe; it’s *the* recipe that guarantees an unbelievably smooth, rich, and creamy texture that rivals any gourmet store-bought dip. Get ready to elevate your snacking experience!
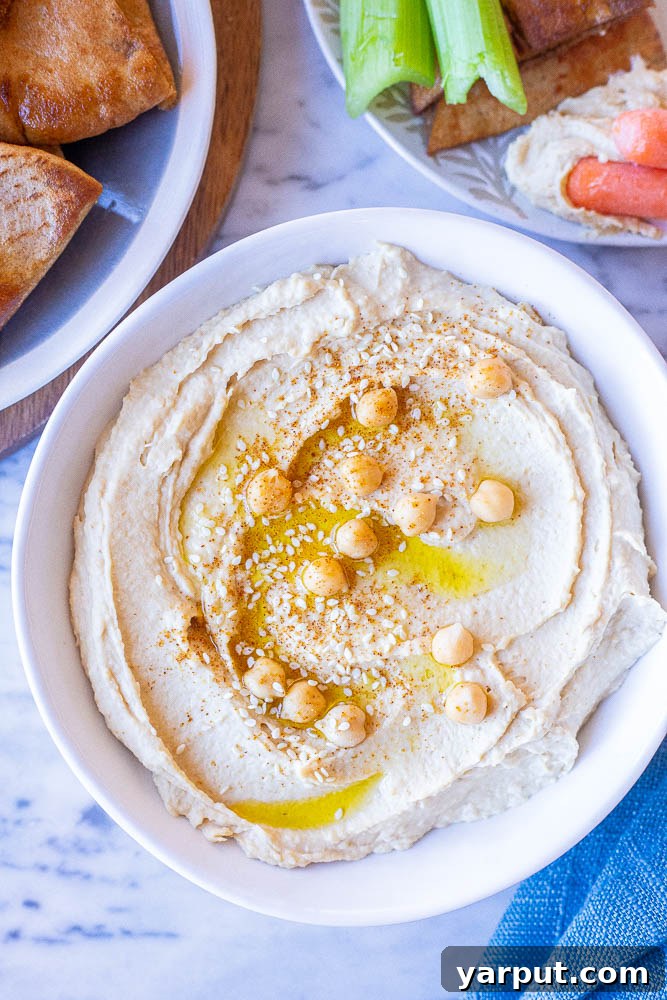
The Ultimate Guide to Crafting the Creamiest Homemade Hummus
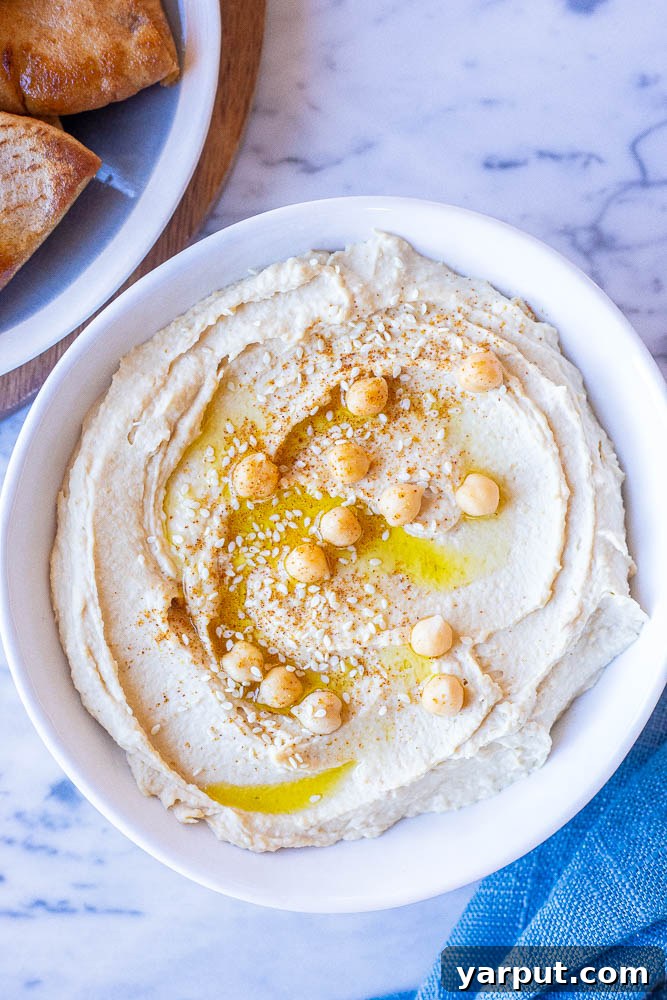
There’s a special kind of joy that comes from making something truly exceptional in your own kitchen, and for many, that joy culminates in a perfectly crafted bowl of hummus. If you’ve ever yearned for that velvety smooth, impossibly creamy hummus that often seems exclusive to your favorite Mediterranean restaurant or specialty store, then your search ends here. Today, we’re diving deep into the art and science of creating the creamiest hummus recipe you’ll ever taste – and yes, it’s made from humble canned chickpeas!
For years, I, like many home cooks, struggled to achieve that desired level of smoothness. My homemade versions were often grainy, thicker than preferred, and just couldn’t quite compete with the commercial varieties. This led to a cycle of trying, failing, and eventually resorting to store-bought options for convenience. But after countless experiments, meticulous research, and a few groundbreaking discoveries, I’ve finally cracked the code. Prepare to be amazed by how simple it is to transform everyday ingredients into a truly luxurious dip that will have everyone convinced it’s from a professional kitchen.
The Secret to Unbelievably Smooth Hummus: Why Homemade Beats Store-Bought
Hummus, a beloved staple of Middle Eastern cuisine, has transcended cultural boundaries to become a global favorite. Its popularity isn’t surprising – it’s nutritious, versatile, and incredibly delicious. But what truly sets an extraordinary hummus apart is its texture. The ideal hummus is light, airy, and so smooth it practically melts in your mouth, leaving behind a delightful burst of flavors from tahini, lemon, and garlic.
While store-bought hummus offers convenience, it often falls short on freshness and that distinctive silken consistency. Many commercial brands contain stabilizers, preservatives, and sometimes even oils that dilute the authentic taste and compromise the texture. Making hummus from scratch allows you complete control over the quality of ingredients, ensuring a vibrant, fresh flavor profile and, most importantly, that coveted creamy texture. Plus, it’s incredibly satisfying to whip up this impressive dip using just a few pantry staples.
A Brief History and Global Love Affair with Hummus
Hummus bi tahini, meaning “chickpeas with tahini,” boasts a rich history spanning centuries in the Middle East. While its exact origins are debated among nations like Lebanon, Israel, Palestine, Syria, and Turkey, its universal appeal is undeniable. Traditionally served as part of a mezze platter, hummus has evolved from a regional delicacy to a health-conscious snack, a dip for gatherings, and a versatile ingredient in modern kitchens worldwide. Its base of chickpeas provides fiber and protein, making it a hearty and healthy addition to any meal. This recipe honors that tradition while incorporating a few clever tricks to perfect its modern, creamy incarnation.
Essential Ingredients for the Perfect Creamy Hummus
Creating the creamiest hummus requires just a handful of simple ingredients, each playing a crucial role in achieving that sought-after texture and flavor. Don’t underestimate their power!
- Chickpeas: The cornerstone of hummus. While dried chickpeas can be used (requiring overnight soaking and longer cooking), canned chickpeas are incredibly convenient and, with our special boiling technique, can yield an equally (if not more) creamy result. Even though they are pre-cooked, boiling them further is *the* key to unlocking their creamy potential.
- Baking Soda: This unassuming pantry item is our secret weapon. Adding baking soda to the water when boiling the chickpeas does wonders. It changes the pH of the water, making it alkaline, which in turn helps break down the pectin in the chickpea skins and softens the chickpeas far beyond their initial canned state. This means less blending time and an incomparably smooth outcome without the tedious task of peeling each chickpea.
- Tahini: A paste made from ground sesame seeds, tahini provides the distinctive nutty flavor and much of the richness in hummus. The quality of your tahini significantly impacts the final taste. Look for a light-colored tahini with a pourable, runny consistency, indicating a fresh, well-processed product. Always taste your tahini before adding it to the recipe; some brands can be quite bitter. A good tahini should have a mildly nutty, slightly sweet flavor.
- Garlic: Fresh garlic cloves are indispensable. I recommend using 2-3 roughly chopped cloves to start, adjusting to your preference. Fresh garlic imparts a pungent, aromatic depth that dried garlic simply cannot replicate.
- Lemon Juice: Bright, fresh lemon juice cuts through the richness of the tahini and chickpeas, adding a vital tangy zest. Always use freshly squeezed lemon juice – the bottled kind lacks the vibrancy and complexity of fresh citrus.
- Olive Oil: A good quality extra virgin olive oil is crucial for both flavor and texture. It adds a subtle fruity note and helps emulsify the hummus, contributing to its luscious mouthfeel. Don’t skimp on this!
- Salt, Cumin, and Cayenne: These seasonings bring the hummus to life. Salt enhances all the other flavors, ground cumin adds an earthy, warm spice, and a pinch of cayenne pepper offers a delightful subtle kick, which is entirely optional but highly recommended for balance.
- Ice Water: This might seem counterintuitive, but slowly drizzling ice-cold water into the food processor while blending is magical. It creates a lighter, fluffier texture and helps the hummus emulsify beautifully, resulting in an incredibly smooth and airy consistency.
Step-by-Step: How to Achieve the Silkiest Hummus at Home
Forget everything you thought you knew about making hummus. No peeling chickpeas (thank goodness!), no endlessly blending and hoping for the best. This method is designed for guaranteed success and that truly irresistible creamy texture.
Preparation: The Chickpea Transformation
- Prepare the Chickpeas: Begin by opening two 15-ounce cans of chickpeas. Drain them thoroughly, but be sure to reserve about a quarter cup of the chickpea liquid (aquafaba) – we’ll use this later. Transfer the drained chickpeas to a medium-sized pot.
- Boil with Baking Soda: Add 1/4 teaspoon of baking soda to the pot with the chickpeas. Cover the chickpeas with fresh water, ensuring they are fully submerged by at least an inch. Bring the mixture to a rolling boil over high heat, then reduce the heat slightly to maintain a vigorous simmer. Continue to boil the chickpeas for a full 20 minutes. You’ll notice they become incredibly soft, almost mushy, and some skins might even float to the top. This is exactly what we want!
- Drain and Cool: Once boiled, drain the chickpeas thoroughly and set them aside. They will be very soft and tender, perfect for blending into a smooth paste.
Blending for Bliss: The Hummus-Making Process
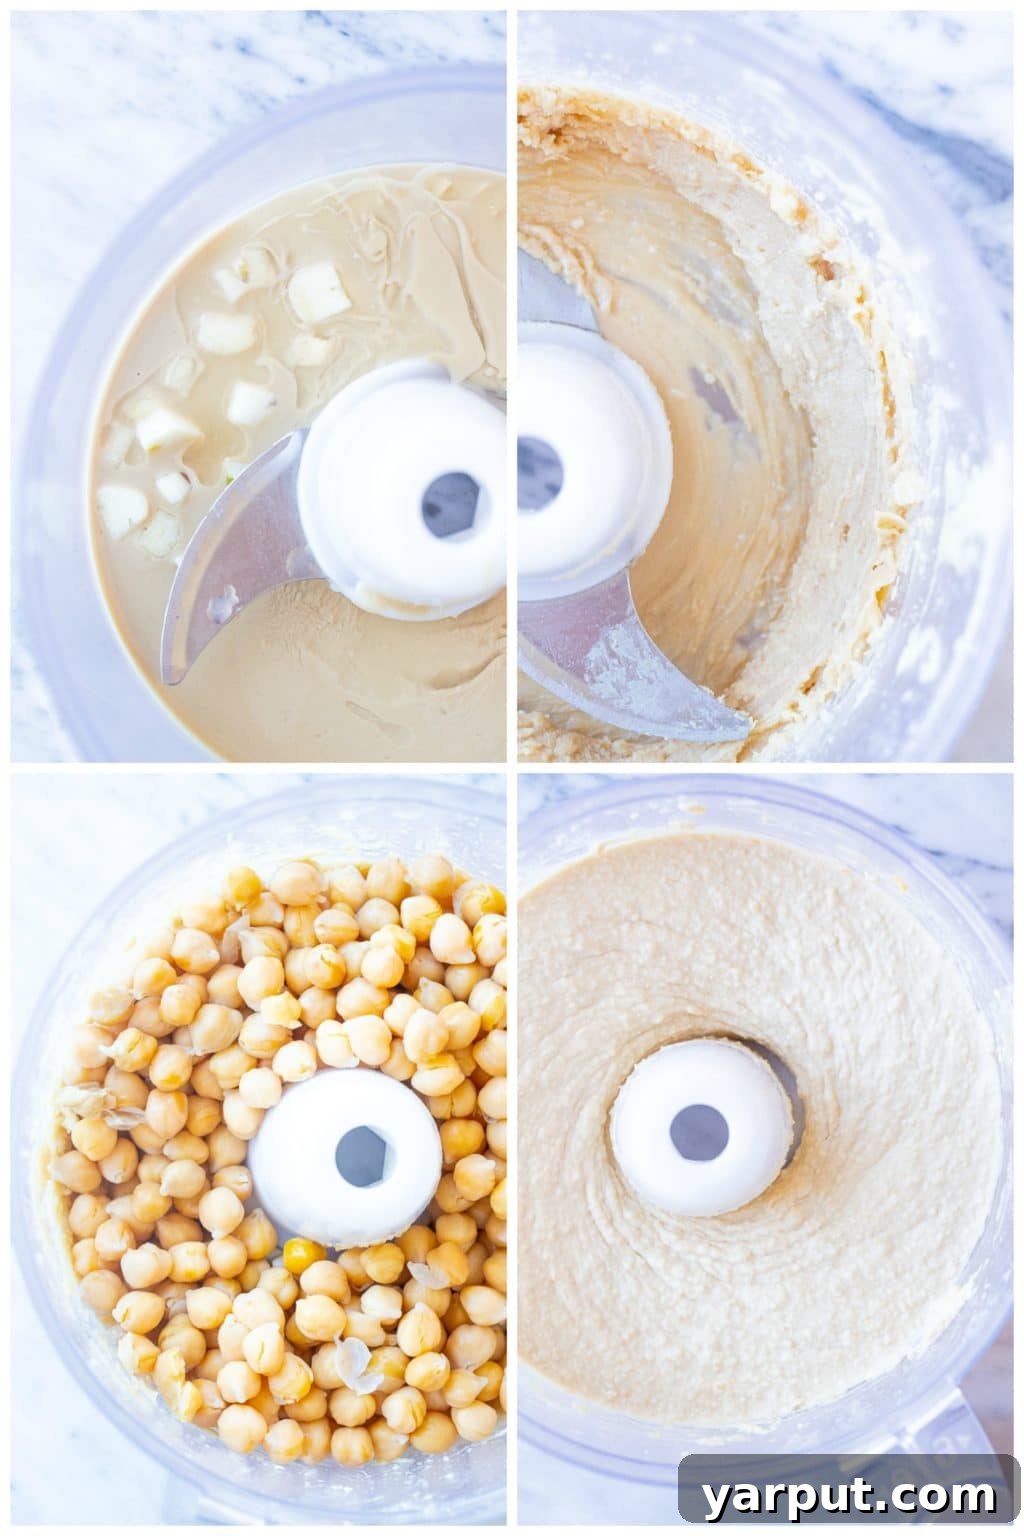
- Whip the Tahini Base: In the bowl of your food processor, combine the 1/2 cup of tahini, 2-3 roughly chopped garlic cloves, the juice of 1 fresh lemon, and a splash (about 1-2 tablespoons) of your reserved chickpea juice (aquafaba). Process these ingredients together for about 1 minute, scraping down the sides as needed. You should see the mixture lighten in color and thicken slightly, becoming wonderfully smooth and airy. This “whipping” step is crucial for an emulsified, non-bitter tahini flavor.
- Combine and Blend: Now, add the boiled and drained chickpeas, 2 tablespoons of olive oil, 1 teaspoon of salt, 1/2 teaspoon of ground cumin, and cayenne powder to taste (start with a pinch, you can always add more). Turn on the food processor and let it run, scraping down the sides occasionally.
- Achieve Creaminess with Ice Water: While the food processor is running, slowly drizzle in ice water, one tablespoon at a time, through the feed tube. Continue blending and adding ice water until your desired consistency is reached. This process typically takes a few minutes, usually 2-5 tablespoons of ice water. The hummus will transform from a thick paste into an incredibly light, fluffy, and creamy dip before your eyes. The longer you blend, the smoother it will become! Aim for at least 2-3 minutes of continuous blending after adding all ingredients.
Storage and Enjoyment
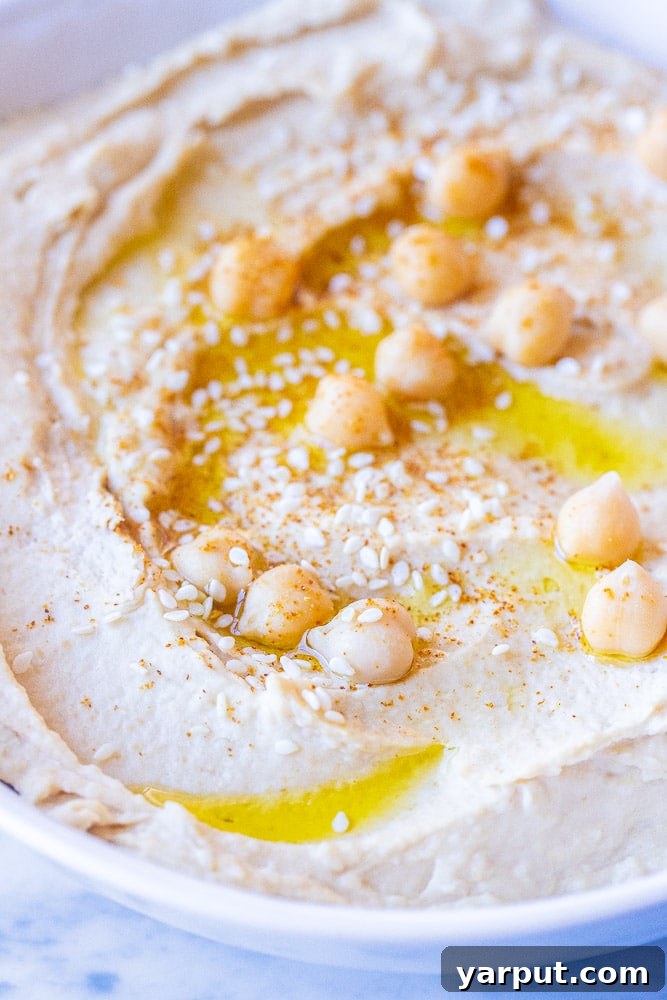
- Serve or Store: Taste the hummus and adjust seasonings (more salt, lemon, or cayenne) if necessary. Enjoy your super creamy hummus immediately, perhaps with a final drizzle of olive oil and a sprinkle of paprika or fresh parsley. For storage, transfer the hummus to an airtight container and refrigerate for up to 5 days. A thin layer of olive oil on top can help prevent it from drying out and oxidizing.
Expert Tips & Tricks for Next-Level Creamy Hummus
Beyond the basic steps, these insights are the true secrets to elevating your homemade hummus from good to absolutely phenomenal.
- Don’t Skip Boiling the Chickpeas (Seriously!): This is arguably the most critical step for achieving ultra-creamy hummus, especially when using canned chickpeas. Even though they’re pre-cooked, a vigorous 20-minute boil makes them exceptionally tender. You should be able to easily squish a chickpea between your fingers with very little pressure. This ensures minimal blending time and a consistently smooth result.
- Embrace the Baking Soda: A tiny amount of baking soda works wonders by raising the pH of the boiling water. This alkaline environment breaks down the cellulose in the chickpea skins and pectin, allowing them to soften much more effectively. The result? A naturally smoother hummus without the tedious task of hand-peeling each chickpea. I promise, you won’t taste it in the final product!
- Whip Your Tahini First: This small but mighty step makes a huge difference. By blending tahini, garlic, lemon juice, and a splash of aquafaba first, you create a light, emulsified base. This process “activates” the tahini, making it smoother and less likely to seize or become bitter when combined with other ingredients. It also allows the garlic and lemon flavors to fully integrate.
- Add Ice Water Gradually: The temperature and gradual addition of ice water are key to achieving that light, airy, and emulsified texture. Don’t dump it all in at once. Slowly drizzle it in while the food processor is running, allowing the hummus to thicken and lighten simultaneously. It’s a bit like making mayonnaise – slow and steady wins the race.
- Taste and Adjust Seasonings Liberally: Hummus is all about balance. Always taste your hummus before serving and adjust salt, lemon juice, or cayenne to your liking. It’s far easier to add more of a seasoning than to try and remove it. Don’t be afraid to be generous with the salt and lemon; they brighten all the flavors.
- Choose Your Tahini Wisely: The quality and flavor of tahini vary greatly between brands. A bitter tahini will inevitably lead to bitter hummus. Look for brands known for their smooth texture and mild, nutty flavor. A good tahini should be fairly runny and easy to pour. If your tahini is very thick or separated, stir it well before measuring.
- Don’t Be Afraid to Blend Longer: Unlike some recipes where over-blending can be an issue, with hummus, more blending often leads to a creamier result, especially after adding the ice water. Let your food processor run for a good 2-3 minutes, even if it looks smooth initially. The continued processing helps aerate the mixture and further break down any remaining chickpea particles.
- Experiment with Flavors: Once you’ve mastered this base recipe for super creamy hummus, the world of flavor variations is yours to explore! Try adding roasted red peppers, sun-dried tomatoes, caramelized onions, fresh herbs like cilantro or dill, or a swirl of pesto. The possibilities are endless.
Creative Ways to Savor Your Delicious Homemade Hummus
The beauty of homemade hummus lies not just in its incredible taste and texture but also in its versatility. Beyond the classic dip, there are countless ways to incorporate this creamy delight into your meals:
- The Classic Dip: Serve it generously with warm pita bread, crunchy pita chips, crackers, or a colorful array of fresh vegetables like cucumber slices, carrot sticks, bell pepper strips, celery, and cherry tomatoes.
- Elevate Your Salads and Buddha Bowls: A dollop of hummus adds creaminess, protein, and flavor to any salad. Spread it on the bottom of a Buddha bowl before layering with grains, roasted vegetables, and leafy greens for a hearty, satisfying meal.
- Sandwich and Wrap Spreader: Replace mayonnaise or other spreads with a thick layer of hummus in your sandwiches, wraps, and even burgers. It adds moisture, flavor, and a healthy boost.
- Hummus Toasts: Spread hummus on toasted bread or bagels and top with avocado, everything bagel seasoning, chili flakes, or fresh herbs for a quick and nutritious breakfast or snack.
- As a Side Dish: Serve alongside grilled meats, falafel, or roasted vegetables. It complements rich flavors beautifully.
- Eat with a Spoon: Sometimes, it’s just that good! Don’t judge, we’ve all been there.
Frequently Asked Questions About Hummus
Got more questions about perfecting your homemade hummus? Here are some common queries:
- Q: Can I use dried chickpeas instead of canned?
A: Yes, absolutely! For dried chickpeas, soak 1 cup overnight, then drain and boil until very tender (this can take 1-2 hours) with 1/2 teaspoon of baking soda. Then proceed with the recipe as written. The cooking time will be significantly longer. - Q: My hummus is too thick/thin. How can I fix it?
A: If it’s too thick, simply add more ice water, one tablespoon at a time, and blend until it reaches your desired consistency. If it’s too thin, you can try adding a bit more tahini or even a few more chickpeas (if you have them) and blend again. However, it’s easier to thin out thick hummus than to thicken thin hummus, so add liquids gradually. - Q: Why is my hummus bitter?
A: Bitterness usually comes from low-quality or old tahini. Always taste your tahini beforehand. Over-processing the tahini on its own without lemon juice can also sometimes contribute to bitterness. Using fresh lemon juice and whipping the tahini base first helps mitigate this. - Q: How long does homemade hummus last?
A: Stored in an airtight container in the refrigerator, homemade hummus will stay fresh for up to 5 days. You can also drizzle a thin layer of olive oil on top before storing to help keep it fresh and prevent it from drying out. - Q: Can I freeze hummus?
A: Yes, hummus freezes surprisingly well! Transfer it to an airtight, freezer-safe container, leaving some headspace for expansion. You can drizzle a thin layer of olive oil on top before freezing. Thaw overnight in the refrigerator and stir well before serving. It will last in the freezer for up to 3-4 months.
Have a question about this recipe that isn’t covered here? Ask me in the comments below, and I’ll get back to you ASAP!
Looking For More Delicious Hummus Recipes?
Once you master this classic, feel free to explore other exciting variations:
Roasted Carrot Hummus
Curry Cilantro Hummus
Minty Sweet Pea Hummus
Roasted Broccoli and Lemon Hummus
Loaded Greek Hummus Dip

The Creamiest Hummus Recipe
5 Stars from 3 reviews
- Author: She Likes Food
- Total Time: 30 minutes
- Yield: 10 servings (approx.)
- Diet: Vegan
Description
This will be the creamiest hummus you’ve ever made! Enjoy as a dip, on a salad or in a wrap!
Ingredients
- 2 (15 oz) cans chickpeas
- 1/4 teaspoon baking soda
- 1/2 cup tahini
- 2-3 cloves garlic, roughly chopped
- Juice of 1 lemon
- 2 tablespoons olive oil
- 1 teaspoon salt
- 1/2 teaspoon ground cumin
- Cayenne powder, to taste
- Ice water
Instructions
- Open the cans of chickpeas and drain them, while saving the chickpea juice. Add the chickpeas to a medium sized pot, along with the baking soda and cover with water. Bring to a boil and boil for 20 minutes. Drain and set aside.
- Add the tahini, garlic, lemon juice, and a splash of reserved chickpea juice to a food processor and blend until smooth, about 1 minute. Next, add the chickpeas, olive oil, salt, cumin, and cayenne and turn the food processor on. Slowly add the ice water until desired consistency is reached. Best if blended for a few minutes.
- Enjoy hummus immediately or store in an airtight container for up to 5 days.
- Prep Time: 10 mins
- Cook Time: 20 mins
- Category: Appetizer, Vegan
- Method: Food Processor, Stovetop
- Cuisine: Middle Eastern