
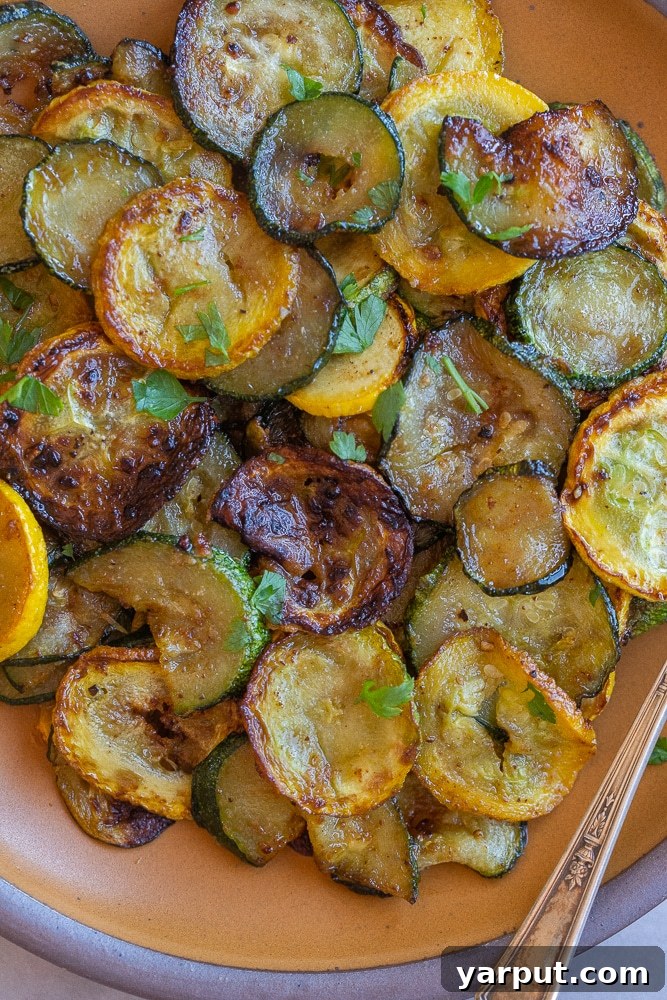
Discover the secret to perfectly cooked summer squash with this incredible Caramelized Pan-Fried Summer Squash recipe. If you’ve ever dismissed zucchini or yellow squash as bland or watery, prepare to have your mind completely transformed. This simple yet profound cooking method brings out a natural sweetness and delightful texture that will make this dish a new favorite on your table.
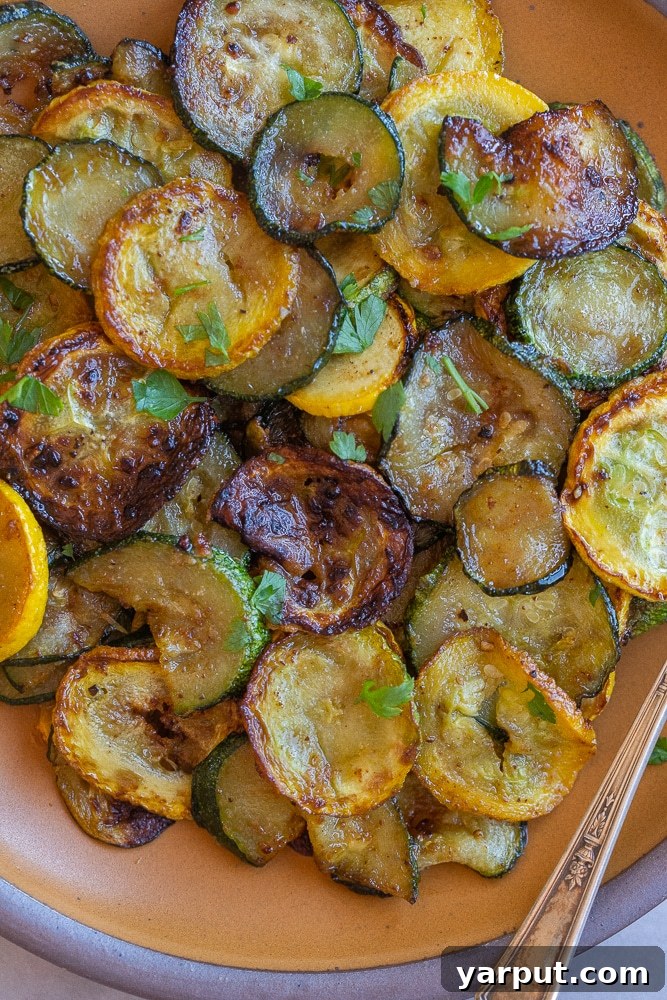
Caramelized Pan-Fried Summer Squash: The Ultimate Summer Side Dish
As an avid home gardener, I’ve learned that some vegetables are simply more reliable than others. One consistent star in my garden every summer is squash. Whether it’s vibrant green zucchini or sunny yellow squash, these versatile vegetables thrive with minimal fuss, often yielding an abundant harvest. While this bounty is a joy, it also presents a delicious challenge: finding new and exciting ways to enjoy them.
Over the years, I’ve experimented with countless zucchini and yellow squash recipes. From grilling and roasting to incorporating them into baked goods, I’ve tried it all. However, one method stands head and shoulders above the rest, consistently delivering a dish that’s far from boring: pan-frying them until they achieve a beautiful, caramelized exterior. This Caramelized Pan-Fried Summer Squash recipe isn’t just a way to use up your harvest; it’s a celebration of summer’s flavors.
This deceptively simple technique elevates humble squash into a truly remarkable side dish. The magic happens in the pan, where the natural sugars in the squash develop, creating a rich, savory-sweet flavor profile and a tender-crisp texture that will surprise and delight even the most skeptical eaters. Forget mushy, watery squash; this recipe guarantees a flavorful, satisfying experience every time.
Why You’ll Fall in Love with Caramelized Summer Squash
This recipe is more than just a quick fix for garden overload; it’s a culinary revelation. Here’s why it deserves a permanent spot in your recipe rotation:
- Unforgettable Flavor: The caramelization process brings out an incredible depth of flavor. The natural sweetness of the squash intensifies, complemented by the savory notes of garlic, salt, and pepper. It’s a flavor explosion that transforms the mild squash into something truly extraordinary.
- Perfect Texture: Say goodbye to soggy squash! Pan-frying creates a delightful tender-crisp texture. The exterior gets beautifully browned and slightly crispy, while the inside remains tender without being mushy.
- Incredibly Easy: With just a handful of ingredients and a simple cooking method, this recipe is perfect for busy weeknights or relaxed weekend meals. It requires minimal prep and comes together quickly.
- Versatile Side Dish: This caramelized squash pairs beautifully with almost any main course. It’s fantastic alongside grilled chicken, fish, steak, or plant-based proteins. It can also be incorporated into a variety of dishes, from grain bowls to tacos, or even added as a delicious topping for homemade pizzas.
- Healthy & Wholesome: Summer squash is low in calories and packed with vitamins, minerals, and fiber. Cooked with healthy olive oil and simple seasonings, this dish is a nutritious addition to any meal, suitable for vegan diets and easily adaptable for various dietary needs.
Essential Ingredients for Your Caramelized Pan-Fried Summer Squash
The beauty of this recipe lies in its simplicity. You don’t need a long list of exotic ingredients to achieve incredible results. Here’s what you’ll need:
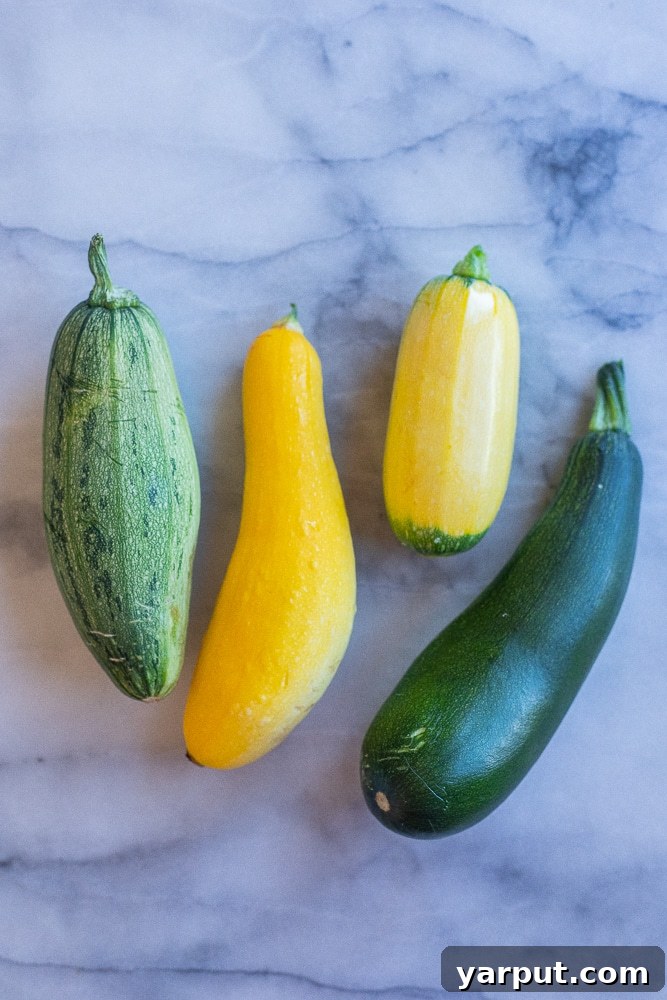
- Summer Squash: The star of our dish! I typically use a mix of green zucchini and yellow squash, as both caramelize beautifully and offer a lovely visual contrast. You can use either variety exclusively or any other tender summer squash like pattypan squash. Choose firm, blemish-free squash for the best results. Smaller to medium-sized squash tend to have fewer seeds and better texture.
- Olive Oil: A good quality olive oil is essential for both flavor and facilitating the caramelization. Its fruity notes complement the squash wonderfully. If you prefer a more neutral flavor, or if you plan to cook at slightly higher heat, you can also use avocado oil, grapeseed oil, or canola oil. The key is to use an oil with a medium-high smoke point.
- Seasonings:
- Salt: Enhances the natural flavors of the squash and helps draw out moisture, contributing to better browning.
- Black Pepper: Adds a subtle warmth and spice that balances the sweetness. Freshly ground black pepper always tastes best.
- Granulated Garlic: This is my go-to for convenience and even distribution. Granulated garlic rehydrates in the oil and infuses the squash with a delightful savory aroma. If you prefer, fresh minced garlic can also be used, but be mindful as it can burn more easily if added too early. For an extra layer of flavor, consider adding a pinch of onion powder as well.
Feel free to experiment with other seasonings! A sprinkle of dried thyme, oregano, a pinch of red pepper flakes for a kick, or even some smoked paprika can add exciting variations to this basic recipe.
Step-by-Step Guide: How To Make The Best Caramelized Pan-Fried Summer Squash
Achieving perfectly caramelized squash is all about a few simple techniques. Follow these steps for consistently delicious results:
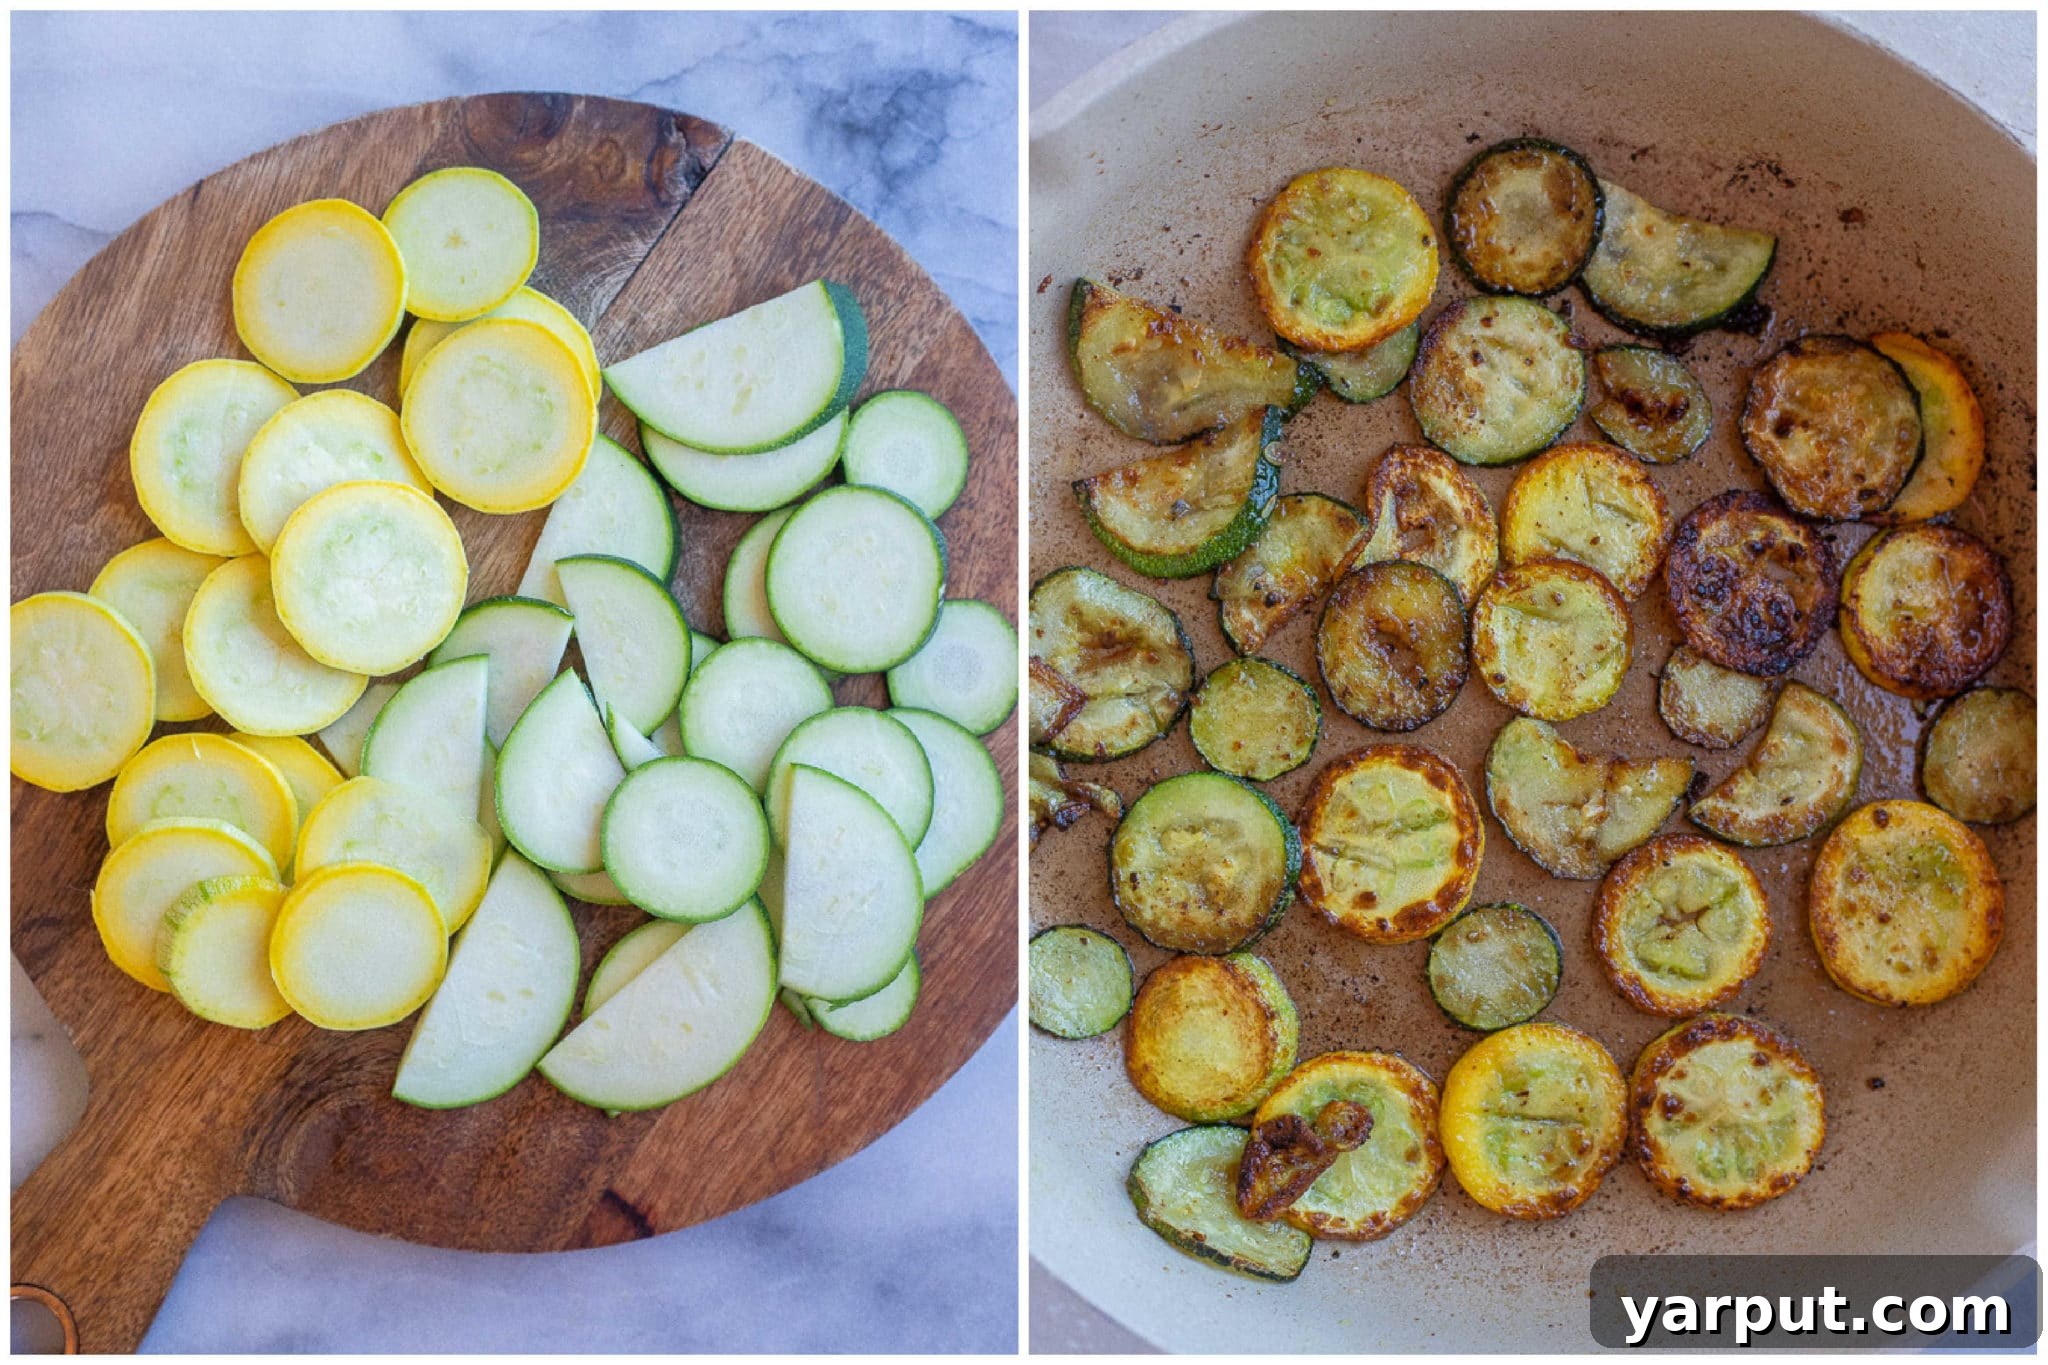
- Prepare Your Squash: Begin by thoroughly washing your summer squash under cold water. Pat them completely dry with a clean kitchen towel or paper towels. This step is crucial, as excess moisture can hinder browning and lead to steaming rather than caramelization. Using a sharp chef’s knife or a mandoline (with caution!), slice the squash into thin, uniform circular slices, approximately 1/8th of an inch thick. Consistency in thickness ensures even cooking. If you have particularly large squash, you can halve or quarter the slices as needed to make them more manageable. For very mature, oversized zucchini, you might want to scoop out some of the larger seeds before slicing, as they can sometimes be tough.
- Preheat Your Pan and Oil: Place a large, heavy-bottomed skillet (cast iron or stainless steel works best) over medium to medium-high heat. Add 2-3 teaspoons of olive oil to the pan. Allow the oil to heat up until it shimmers and just begins to show wisps of smoke – this indicates it’s hot enough to start the caramelization process. A properly heated pan is key to preventing the squash from sticking and ensuring a golden crust.
- Add and Season the Squash: Carefully add your sliced squash to the hot pan. It is vital that the squash slices are in a single layer to allow for maximum contact with the hot surface. If you have a large batch of squash, cook it in several smaller batches to avoid overcrowding the pan. Overcrowding will lower the pan’s temperature, causing the squash to steam instead of fry and caramelize. Toss the squash slices gently to coat them evenly with the hot oil. Immediately sprinkle with salt, black pepper, and granulated garlic. The exact amount of seasoning can be adjusted to your personal preference and the quantity of squash you’re cooking. Mix everything together well, then use a spatula or tongs to spread the slices out into a single layer across the bottom of the pan.
- Caramelize to Perfection: Let the squash cook undisturbed on one side until it develops a beautiful golden-brown color and distinct caramelization, which typically takes about 4-5 minutes. Resist the urge to flip them too early! This undisturbed cooking time allows the Maillard reaction to occur, creating those coveted rich flavors and appealing browning. Once the first side is beautifully browned, flip each slice over to cook the other side. Continue cooking for another 3-4 minutes, or until both sides of the squash slices are nicely browned and tender-crisp. Towards the very end of the cooking process, I often increase the heat slightly for a minute or two to achieve an extra-crisp finish. Remove the squash from the pan, allow it to cool for a moment, and serve immediately. Enjoy the incredible flavor and texture!
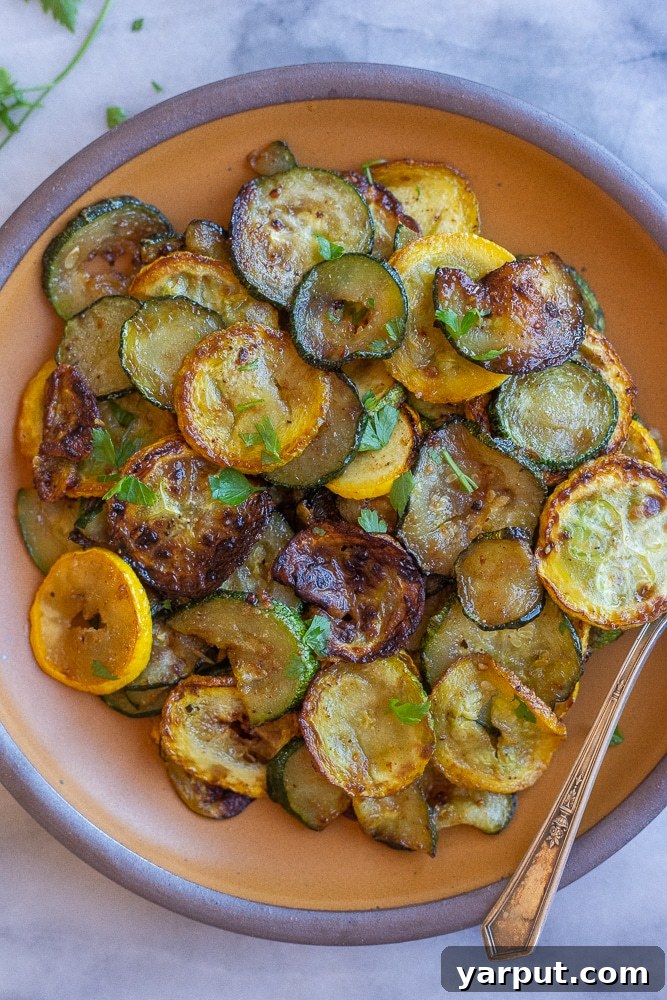
Tips for Perfect Caramelization and Serving Suggestions
Expert Tips for the Best Results:
- Don’t Crowd the Pan: This is perhaps the most important tip. Overcrowding lowers the pan’s temperature and causes the squash to steam instead of fry, resulting in a soggy texture. Work in batches if necessary.
- Heat Management: Start with medium-high heat to get the pan hot, then you can adjust it slightly lower if the squash is browning too quickly. A slightly higher heat towards the end can help achieve extra crispness.
- Uniform Slices: Evenly sliced squash ensures that all pieces cook at the same rate, preventing some from being undercooked while others are burnt.
- Pat Dry: Remove as much moisture as possible from the squash before adding it to the pan. Water is the enemy of caramelization.
- Resist Flipping: Let the squash cook undisturbed on each side to allow for proper browning and flavor development.
Creative Serving Suggestions:
This caramelized summer squash is incredibly versatile. Here are some ideas:
- Classic Side Dish: Serve alongside grilled meats (chicken, fish, steak), roasted vegetables, or your favorite main course.
- Bowl Booster: Add to Buddha bowls, grain bowls, or rice bowls for a burst of flavor and texture.
- Taco & Wrap Filling: A delicious and healthy addition to vegetarian tacos, burritos, or wraps.
- Pizza Topping: Spread over homemade pizzas before baking for a savory-sweet element.
- Pasta Perfection: Toss with your favorite pasta, a light sauce (like pesto or olive oil and lemon), and fresh herbs.
- Salad Enhancer: Add cooled caramelized squash to green salads or warm grain salads for extra substance and flavor.
- Breakfast/Brunch: Mix into scrambled eggs, omelets, or frittatas for a nutritious and delicious start to your day.
- Appetizer: Serve warm as a simple appetizer, perhaps with a sprinkle of feta cheese or a drizzle of balsamic glaze.
Storage and Reheating:
Leftover caramelized summer squash can be stored in an airtight container in the refrigerator for up to 3-4 days. To reheat, gently warm in a skillet over medium heat until heated through, or in a microwave. For best texture, reheating in a skillet is preferred as it can help crisp up the edges again.
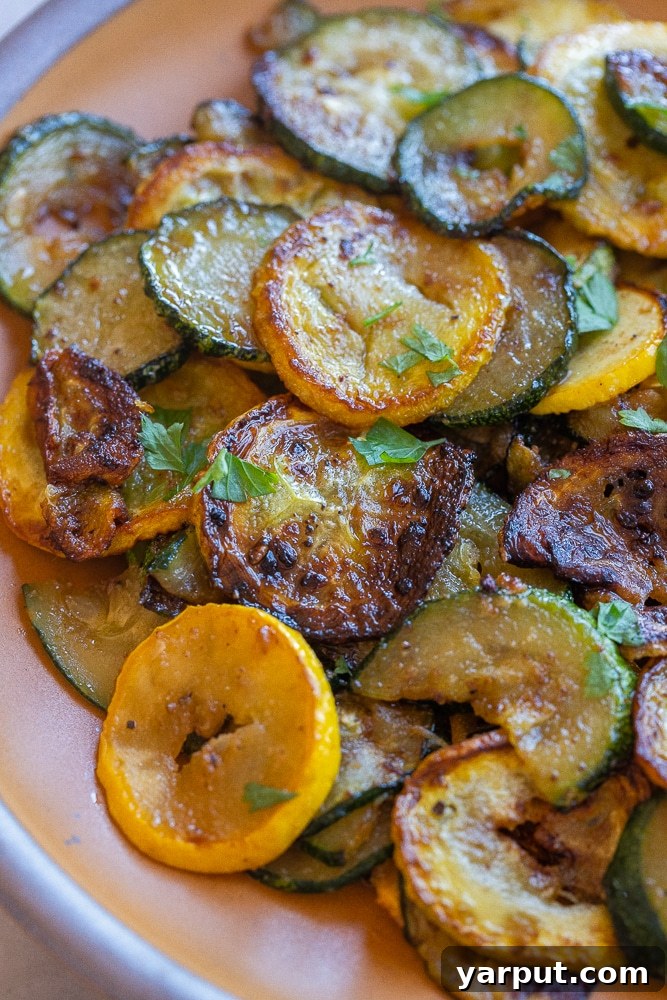
Frequently Asked Questions About Caramelized Pan-Fried Summer Squash
What kind of squash should I use for this recipe?
This recipe works beautifully with common summer squash varieties like green zucchini and yellow squash. I often use a mixture for visual appeal and a slightly varied flavor profile. You can also experiment with other tender summer squash types such as pattypan or crookneck squash.
What if my squash is really large?
If you have larger squash, you can certainly use them. For very wide slices, cut them in half or even quarters to make them more manageable in the pan and ensure they cook evenly. If using extremely large, mature zucchini, consider scooping out the seeds before slicing, as they can sometimes be tough or woody.
Can I bake these in the oven instead of pan-frying?
Absolutely! For an oven-roasted version, preheat your oven to 400°F (200°C). Toss the thinly sliced squash with olive oil and seasonings on a baking sheet, ensuring they are in a single layer. Roast for 15-25 minutes, flipping halfway through, until tender and nicely browned. The flavor will be slightly different but still delicious!
How should I best enjoy this pan-fried summer squash?
This versatile dish can be served as a delightful side dish with virtually any meal. It’s fantastic with grilled chicken, steak, fish, or even a simple rice pilaf. You can also add it to salads, grain bowls, or use it as a flavorful topping for pizzas and flatbreads.
How do I prevent the squash from getting mushy?
The key to avoiding mushy squash is proper preparation and cooking technique. First, ensure your squash is thoroughly dry before it hits the pan. Second, do not overcrowd the pan; cook in batches if necessary so the squash fries rather than steams. Third, use medium-high heat to promote quick browning and caramelization, and resist the urge to stir or flip too frequently, allowing a crust to form on each side.
What kind of pan is best for caramelizing squash?
A heavy-bottomed skillet is ideal for this recipe. Cast iron pans are excellent because they retain heat very well and promote even browning and caramelization. Stainless steel skillets also work effectively. Non-stick pans can be used, but may not achieve the same depth of caramelization as cast iron or stainless steel.
Can I add other vegetables to the pan?
While this recipe focuses on squash, you can certainly add other quick-cooking vegetables. Thinly sliced onions or bell peppers can be added towards the end of the cooking process to gently caramelize alongside the squash, adding more flavor and color to your dish.
Have a question that wasn’t answered here? Feel free to leave a comment below, and I’ll be happy to assist you!
Explore More Delicious Summer Side Dish Recipes
If you loved this recipe, you might enjoy these other fresh and flavorful summer side dishes:
- The Best Roasted Zucchini Recipe
- Guacamole Stuffed Tomatoes
- Chunky Cucumber Salsa
- Chickpea Salad with Cabbage and Cucumber
- Pickle De Gallo Recipe
Caramelized Pan-Fried Summer Squash Recipe Card
No reviews yet.
- Author: She Likes Food
- Total Time: 17 minutes
- Yield: 1-2 servings
- Diet: Vegan
Description
If you think you don’t like zucchini or summer squash, you’ve got to try this amazing Caramelized Pan-Fried Summer Squash Recipe! It is sure to change your mind! You only need squash, olive oil, salt, pepper, and garlic to make this easy and delicious summer side dish.
Ingredients
- 1-2 small summer squash (zucchini or yellow squash)
- 2-3 teaspoons olive oil
- 1/4 teaspoon granulated garlic
- Salt and black pepper, to taste
Instructions
- Thoroughly wash and dry your squash. Use a sharp knife to slice the summer squash into thin, circular slices, about 1/8th of an inch thick. If the squash is large, you can cut the circles in half or even quarters.
- Heat a large pan over medium-high heat and add 2-3 teaspoons of olive oil. Let the oil get hot, then add in your sliced squash. Toss to coat with the oil. Next, add in about 1/4 teaspoon salt, black pepper, and granulated garlic. The seasoning amounts will depend on how big your pan of squash is and your taste. Mix together well, then use a spatula to help lay the slices out in a single layer on the bottom of the pan.
- Let squash cook until the bottom side is browned, about 4-5 minutes, then flip squash over to the other side. Allow to cook for another 3-4 minutes, until both sides of the slices of squash are nice and browned. You can turn the heat up a little bit toward the end to help the squash brown up quickly. Allow squash to cool and then enjoy!
Notes
It’s important for the squash slices to be able to be in a single layer in the pan, so you may have to cook the squash in a few batches if you have a lot.
- Prep Time: 5 mins
- Cook Time: 12 mins
- Category: Side, Vegan
- Method: Stovetop
- Cuisine: American
Did you make this recipe? Tag @shelikes.food on Instagram and hashtag it #shelikesfood