
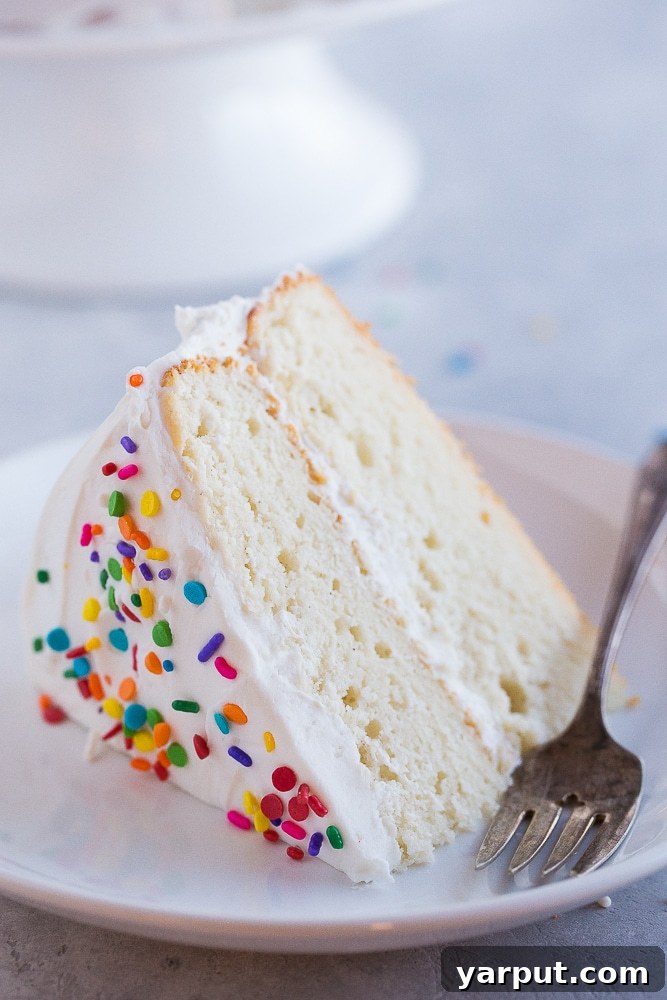
Discover the ultimate recipe for a light, fluffy, and incredibly flavorful gluten-free white cake, perfect for any celebration!
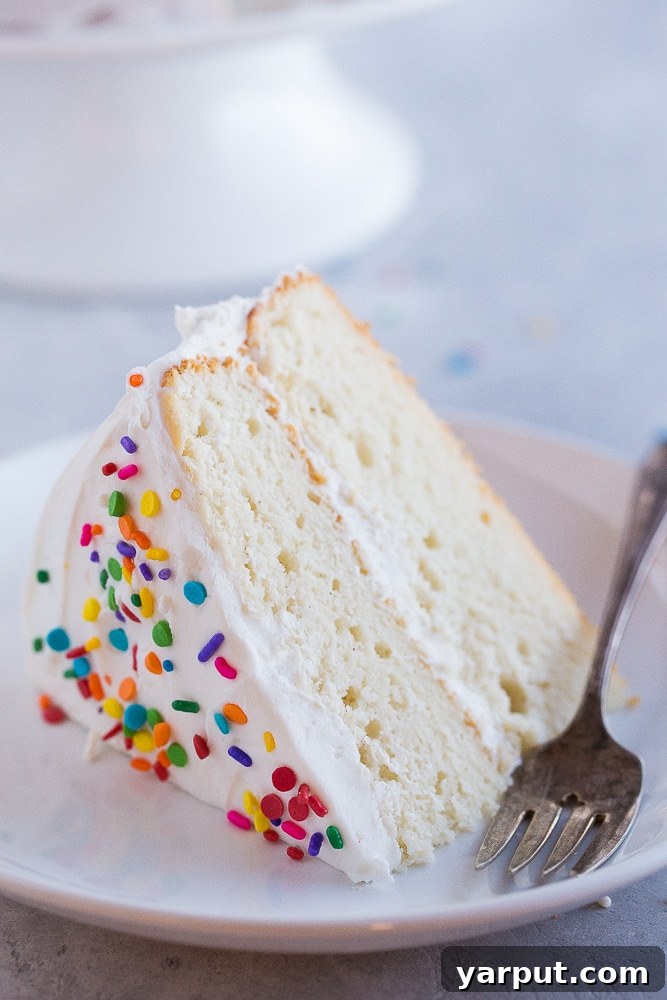
As the festive season winds down, I’m thrilled to share one more delightful creation to round out the year: the **Best Gluten-Free White Cake** recipe. Following the overwhelming success and numerous requests for a white version of my beloved Gluten-Free Chocolate Cake, I embarked on a journey to perfect a gluten-free white cake that truly stands out. While I may not consider myself a gluten-free baking guru, the past few months have been dedicated to rigorous testing and retesting, culminating in a recipe that I confidently believe delivers on its promise. This cake boasts a magnificent vanilla flavor, a tender crumb, and a beautifully light and airy texture, making it an ideal centerpiece for birthdays, anniversaries, or any cherished gathering.
Many of you anticipated that developing a gluten-free white cake would be as simple as omitting cocoa powder from a chocolate cake recipe and adjusting the flour or sugar. However, the intricacies of white cake baking are far more complex. Achieving that signature delicate texture and pure vanilla essence without the robustness of cocoa requires a different approach entirely. It’s a delicate balance of ingredients and technique, especially when working with gluten-free flours. This recipe is the fruit of that labor, designed to deliver a cake that not only rivals its gluten-containing counterparts but might just surpass them in sheer deliciousness and delightful lightness.
Essential Ingredients for the Perfect Gluten-Free White Cake
In my everyday baking, I often lean towards healthier alternatives like coconut sugar and coconut oil. However, this Gluten-Free White Cake is a true celebration cake, designed for moments when a little indulgence is not just allowed but encouraged. Birthdays, holidays, and special occasions that call for a classic, comforting cake are exactly what this recipe is made for. While a “healthier” version might be on my future testing list, sometimes, a traditional approach yields the most satisfying results. Let’s delve into the key ingredients that make this gluten-free vanilla cake so exceptional:
- Gluten-Free Flour: I’ve found that 3 cups of a high-quality gluten-free flour blend with xanthan gum is essential. My top recommendation is Bob’s Red Mill 1:1 Gluten Free Baking Flour. This blend is specifically formulated to mimic the properties of wheat flour, ensuring excellent structure and a tender crumb without the grainy texture often associated with gluten-free baking. Xanthan gum acts as a binder, replacing the elasticity that gluten provides, and is crucial for preventing a crumbly cake.
- Baking Powder: A leavening agent that helps the cake rise, contributing to its light and airy texture. I prefer using aluminum-free baking powder to avoid any metallic aftertaste.
- Salt: Just a touch of salt is vital to balance the sweetness and enhance all the other flavors in the cake.
- Granulated White Sugar: For a true white cake, granulated white sugar is non-negotiable. While you might be tempted to substitute with coconut sugar or other natural sweeteners, these will impart a darker color and a distinct flavor, moving away from the classic white cake profile. For this recipe, embrace the purity of white sugar for that authentic taste and pristine appearance.
- Softened Butter: The foundation of a rich and flavorful cake. Using softened, unsalted butter allows it to cream properly with the sugar, incorporating air and creating a light, fluffy batter. Ensure your butter is at room temperature for optimal results.
- Pure Vanilla Extract: The heart of a classic white cake’s flavor. I use pure vanilla extract for its rich, authentic aroma and taste. If you desire an absolutely pristine white cake with no hint of color, you could opt for clear imitation vanilla extract. However, I’ve found that pure vanilla extract doesn’t noticeably alter the cake’s whiteness and offers superior flavor.
- Milk: Adds moisture and helps to create a smooth, pourable batter. Any milk (dairy or non-dairy, though dairy milk was used in testing) works well, contributing to the cake’s tender texture.
- Non-Fat Greek Yogurt: A secret ingredient for added moisture and a subtle tang that brightens the cake’s flavor. Greek yogurt also contributes to a wonderfully tender crumb, preventing the cake from drying out.
- Egg Whites: This is where the magic happens for an incredibly light and airy gluten-free white cake. My Gluten-Free Chocolate Cake can easily be adapted for vegans, but this white cake recipe relies heavily on six whipped egg whites to create its signature volume and delicate structure. Whipping the egg whites to stiff peaks and gently folding them into the batter is key to its success. I am eager to experiment with aquafaba as a vegan alternative in the near future, but after perfecting this version, I was admittedly “caked-out”! Rest assured, I’ll keep you updated on any vegan gluten-free white cake developments.
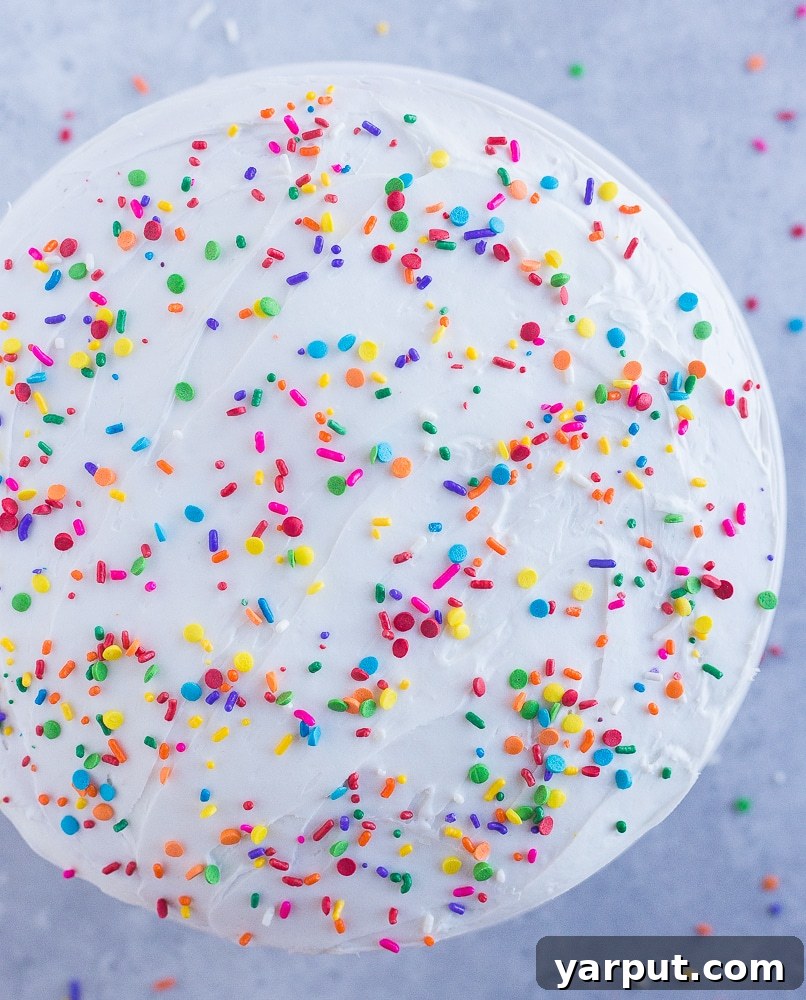
- Preferred Frosting: While I adore a classic white frosting to complement the pristine nature of this cake, feel free to get creative! A vibrant strawberry frosting, like the one I made for a friend’s daughter’s birthday last year from Sally’s Baking Addiction, would be absolutely divine and adds a beautiful burst of color. Buttercream, cream cheese frosting, or even a simple glaze would all be fantastic choices.
Baking Your Best Gluten-Free White Cake: A Step-by-Step Guide
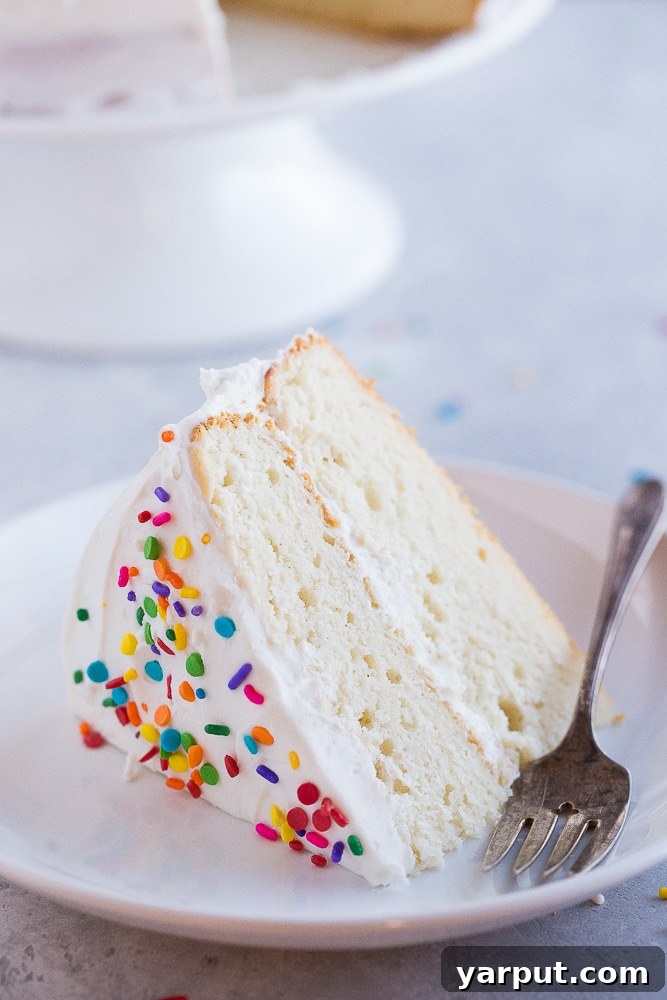
This “Best Gluten-Free White Cake” recipe is incredibly versatile and perfect for any upcoming celebration. Whether you envision a classic two-layer cake, a festive sheet cake using a large rectangular pan, or individual cupcakes, this recipe adapts beautifully. Follow these detailed steps to achieve a perfectly light and fluffy gluten-free vanilla cake:
- Prepare Your Oven and Pans: Begin by preheating your oven to 350 degrees F (175°C). This ensures a consistent baking temperature from the moment your cake enters the oven. Thoroughly grease and lightly flour two 8-inch round cake pans. You can use gluten-free flour for dusting to keep the cake entirely gluten-free. Lining the bottoms with parchment paper is also highly recommended to prevent sticking and ensure easy removal. Set the prepared pans aside.
- Combine Dry Ingredients: In a medium-sized bowl, whisk together the gluten-free flour blend, baking powder, and salt until they are well combined. Whisking helps to evenly distribute the leavening agents and prevent lumps, ensuring a uniform rise in your cake. Set this mixture aside.
- Cream Butter and Sugar: In a large mixing bowl, combine the softened butter and granulated sugar. Using an electric mixer, beat these two ingredients together on medium-high speed for a full 4-5 minutes. This creaming process is crucial as it incorporates air into the mixture, which is vital for a light and fluffy cake texture. The mixture should become pale, light, and visibly fluffy. Next, reduce the speed to low, add the pure vanilla extract and milk, and mix again until just combined. Don’t be alarmed if the mixture appears slightly curdled; this is a normal reaction when liquids are added to a creamed butter mixture and will smooth out as more ingredients are incorporated.
- Incorporate Wet and Dry Ingredients: With the mixer on low speed, gradually add half of the dry flour mixture to the wet ingredients and mix until just combined, being careful not to overmix. Overmixing can develop the starches in gluten-free flour too much, leading to a tougher cake. Immediately after, add half of the Greek yogurt and mix until smooth. Repeat this process with the remaining flour mixture and yogurt, mixing only until the ingredients are just incorporated and no dry streaks remain.
- Whip and Fold Egg Whites: In a separate, very clean large bowl, add the six egg whites. Using a clean electric mixer (or stand mixer with a whisk attachment), beat the egg whites on high speed until stiff peaks have formed, which typically takes 3-4 minutes. Stiff peaks mean that when you lift the beaters, the egg whites hold their shape firmly. This step adds significant volume and air to the batter, contributing to the cake’s ethereal lightness. Gently fold the whipped egg whites into the cake batter in two additions using a spatula. Use a cutting and folding motion to preserve the air in the egg whites, mixing only until no white streaks are visible.
- Bake the Cakes: Divide the light and airy cake batter equally between the two prepared 8-inch cake pans. Place the pans in the preheated oven and bake for 30-35 minutes. To check for doneness, look for the edges to start turning a light golden brown and insert a toothpick into the center of the cakes; it should come out clean. Avoid opening the oven door too frequently during baking, especially in the first 20 minutes, as this can cause the cakes to fall. Once baked, remove the cakes from the oven and let them cool in their pans on a wire rack for about 5-10 minutes. This allows the cakes to set properly before handling.
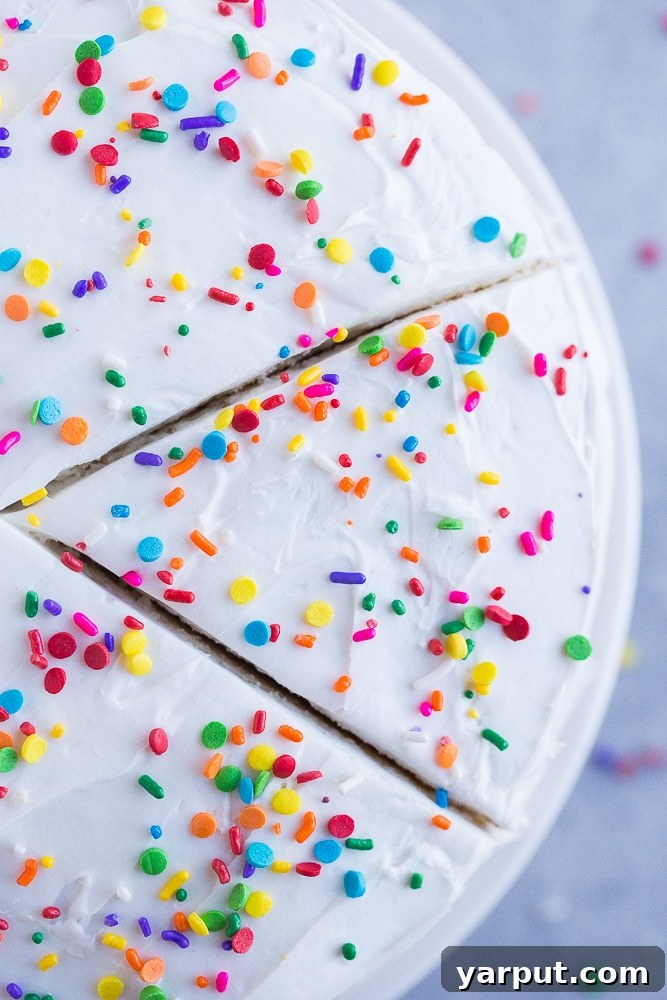
- Cool and Frost: After the initial cooling in the pans, carefully invert the cakes onto the wire rack to cool completely. It’s crucial that the cakes are entirely cool before frosting, otherwise, your frosting will melt and slide off. This can take anywhere from 1-2 hours depending on your room temperature. Once thoroughly cooled, it’s time for the fun part – frost your beautiful gluten-free white cake with your favorite frosting and decorate as desired!
Expert Tips for Baking the Best Gluten-Free White Cake
Achieving the perfect gluten-free white cake is not just about the ingredients, but also the technique. Here are some essential tips to ensure your cake turns out wonderfully light, fluffy, and delicious every single time:
- Room Temperature Ingredients are Key: This is a golden rule in baking, especially for cakes. Ensure all your cold ingredients, such as butter, milk, and Greek yogurt, are at room temperature. This allows them to emulsify properly, creating a smooth, uniform batter that traps air effectively, leading to a more tender and evenly baked cake. Plan ahead and take them out of the refrigerator at least 30-60 minutes before you start baking.
- Choose Your Gluten-Free Flour Wisely: As mentioned, I had the best results with Bob’s Red Mill 1:1 Gluten-Free Baking Flour. This blend is reliable because it typically includes xanthan gum, which is crucial for structure in gluten-free baking. If you opt for another trusty gluten-free flour blend, always check if it contains xanthan gum. If not, you may need to add about 1/2 to 1 teaspoon per cup of flour, depending on the blend, to prevent a crumbly texture. I tested this recipe with another popular GF blend that lacked xanthan gum, and the result was noticeably grainy and fell apart easily.
- Creaming Butter and Sugar is Crucial: Don’t rush this step! Beating the softened butter and granulated sugar together for a full 4-5 minutes with an electric mixer is paramount. This process incorporates tiny air pockets into the mixture, which expand during baking, contributing significantly to the cake’s light and fluffy texture. The mixture should become visibly pale in color and almost cloud-like in consistency.
- Mastering Egg White Whipping: The whipped egg whites are a cornerstone of this cake’s delicate texture. It’s vital to beat them until stiff peaks form. This means they should hold their shape when the beaters are lifted. Once whipped, gently fold them into the batter. Aggressive mixing at this stage will deflate the air you’ve worked so hard to incorporate, resulting in a denser cake.
- Vanilla Extract: Flavor vs. Color: Some bakers prefer clear imitation vanilla extract to ensure the cake is absolutely pristine white. However, I’ve found that using pure vanilla extract doesn’t significantly alter the cake’s color, and the depth of flavor it provides is far superior. Ultimately, the choice is yours, depending on how “white” you want your cake to be.
- Do Not Overmix the Batter: After adding the dry ingredients, mix only until just combined. Overmixing gluten-free flour can lead to a gummy or tough texture, as it develops the starches too much. A few streaks of flour are better than an overmixed batter.
- Measure Precisely: Baking, especially gluten-free baking, is a science. Use a kitchen scale for flour and sugar if possible, or ensure you spoon and level your dry ingredients accurately. Too much or too little of any ingredient can throw off the delicate balance of this recipe.
- Know Your Oven: Oven temperatures can vary significantly. Consider using an oven thermometer to ensure your oven is truly at 350°F (175°C). An accurate temperature is crucial for proper rising and browning.
- Cool Cakes Completely: Patience is a virtue when it comes to cooling cakes. Ensure your cake layers are completely cool before attempting to frost them. Warm cakes will melt your frosting, leading to a messy and unattractive finish. Let them cool on a wire rack for at least 1-2 hours.
Have a question about this recipe or need further clarification on a step? Don’t hesitate to ask me in the comments below, and I’ll get back to you as soon as possible!
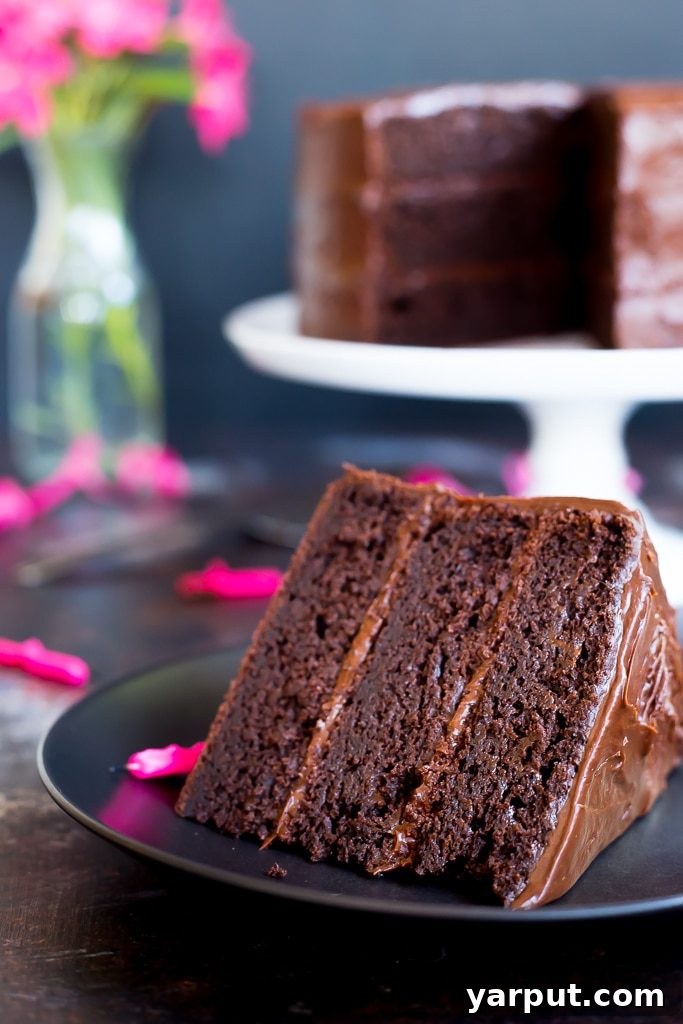
And for those chocolate lovers out there, if you’re craving an equally delicious gluten-free chocolate cake, make sure to check out my highly-requested recipe!
The Best Gluten Free White Cake
Author: She Likes Food
Ingredients
- 3 cups gluten free flour with xanthan gum (Bob’s Red Mill 1:1 Gluten Free Baking Flour recommended)
- 1 tablespoon baking powder (aluminum free preferred)
- 3/4 teaspoon salt
- 1 1/2 cups granulated sugar
- 1 cup softened butter
- 1 tablespoon pure vanilla extract (clear imitation vanilla extract can be used for a super white cake)
- 1 1/4 cups milk
- 1 cup non-fat Greek yogurt
- 6 egg whites
- 2-3 cups preferred cake frosting
Instructions
- Pre-heat oven to 350 degrees F (175°C). Grease and lightly flour two 8-inch cake pans and set aside.
- In a medium-sized bowl, add the flour, salt, and baking powder and whisk until combined.
- In a large bowl, beat together the softened butter and granulated sugar with an electric mixer for 4-5 minutes until light and fluffy. Next, add the pure vanilla extract and milk, mixing again until just combined. The mixture may look slightly curdled, which is normal.
- Gradually add half of the flour mixture to the wet ingredients and mix until just combined. Follow with half of the Greek yogurt and mix again. Repeat with the remaining flour mixture and yogurt, mixing only until combined.
- Add the egg whites to a separate large bowl and beat with an electric mixer until stiff peaks have formed, about 3-4 minutes. Gently fold the whipped egg whites into the cake batter until completely combined, being careful not to deflate the mixture.
- Pour equal amounts of cake batter into each prepared cake pan. Bake for 30-35 minutes, or until the sides are lightly browned and a toothpick inserted into the center comes out clean. Let the cakes cool in the pans for about 5-10 minutes, then transfer them to a wire rack to cool completely.
- Once the cakes are thoroughly cooled, you can frost and decorate them!